Getting Started: Resurrecting the HP Pavilion
Starting my homelab by repurposing an old HP Pavilion, upgrading its parts, and turning it into a dedicated server.
Overview
Welcome to my personal documentation site. This is the first entry in what became an ongoing series covering the build-out of my homelab; from initial hardware through network segmentation, SIEM deployment, and offensive security exercises.
Every project starts somewhere. This one started with an old family computer pulled out of storage.
Old Machine
My family purchased this machine sometime during 2014. It served as our household desktop for several years before being retired to storage. When I decided to start a homelab, this machine was the obvious candidate. It was free hardware with enough capability to be useful.
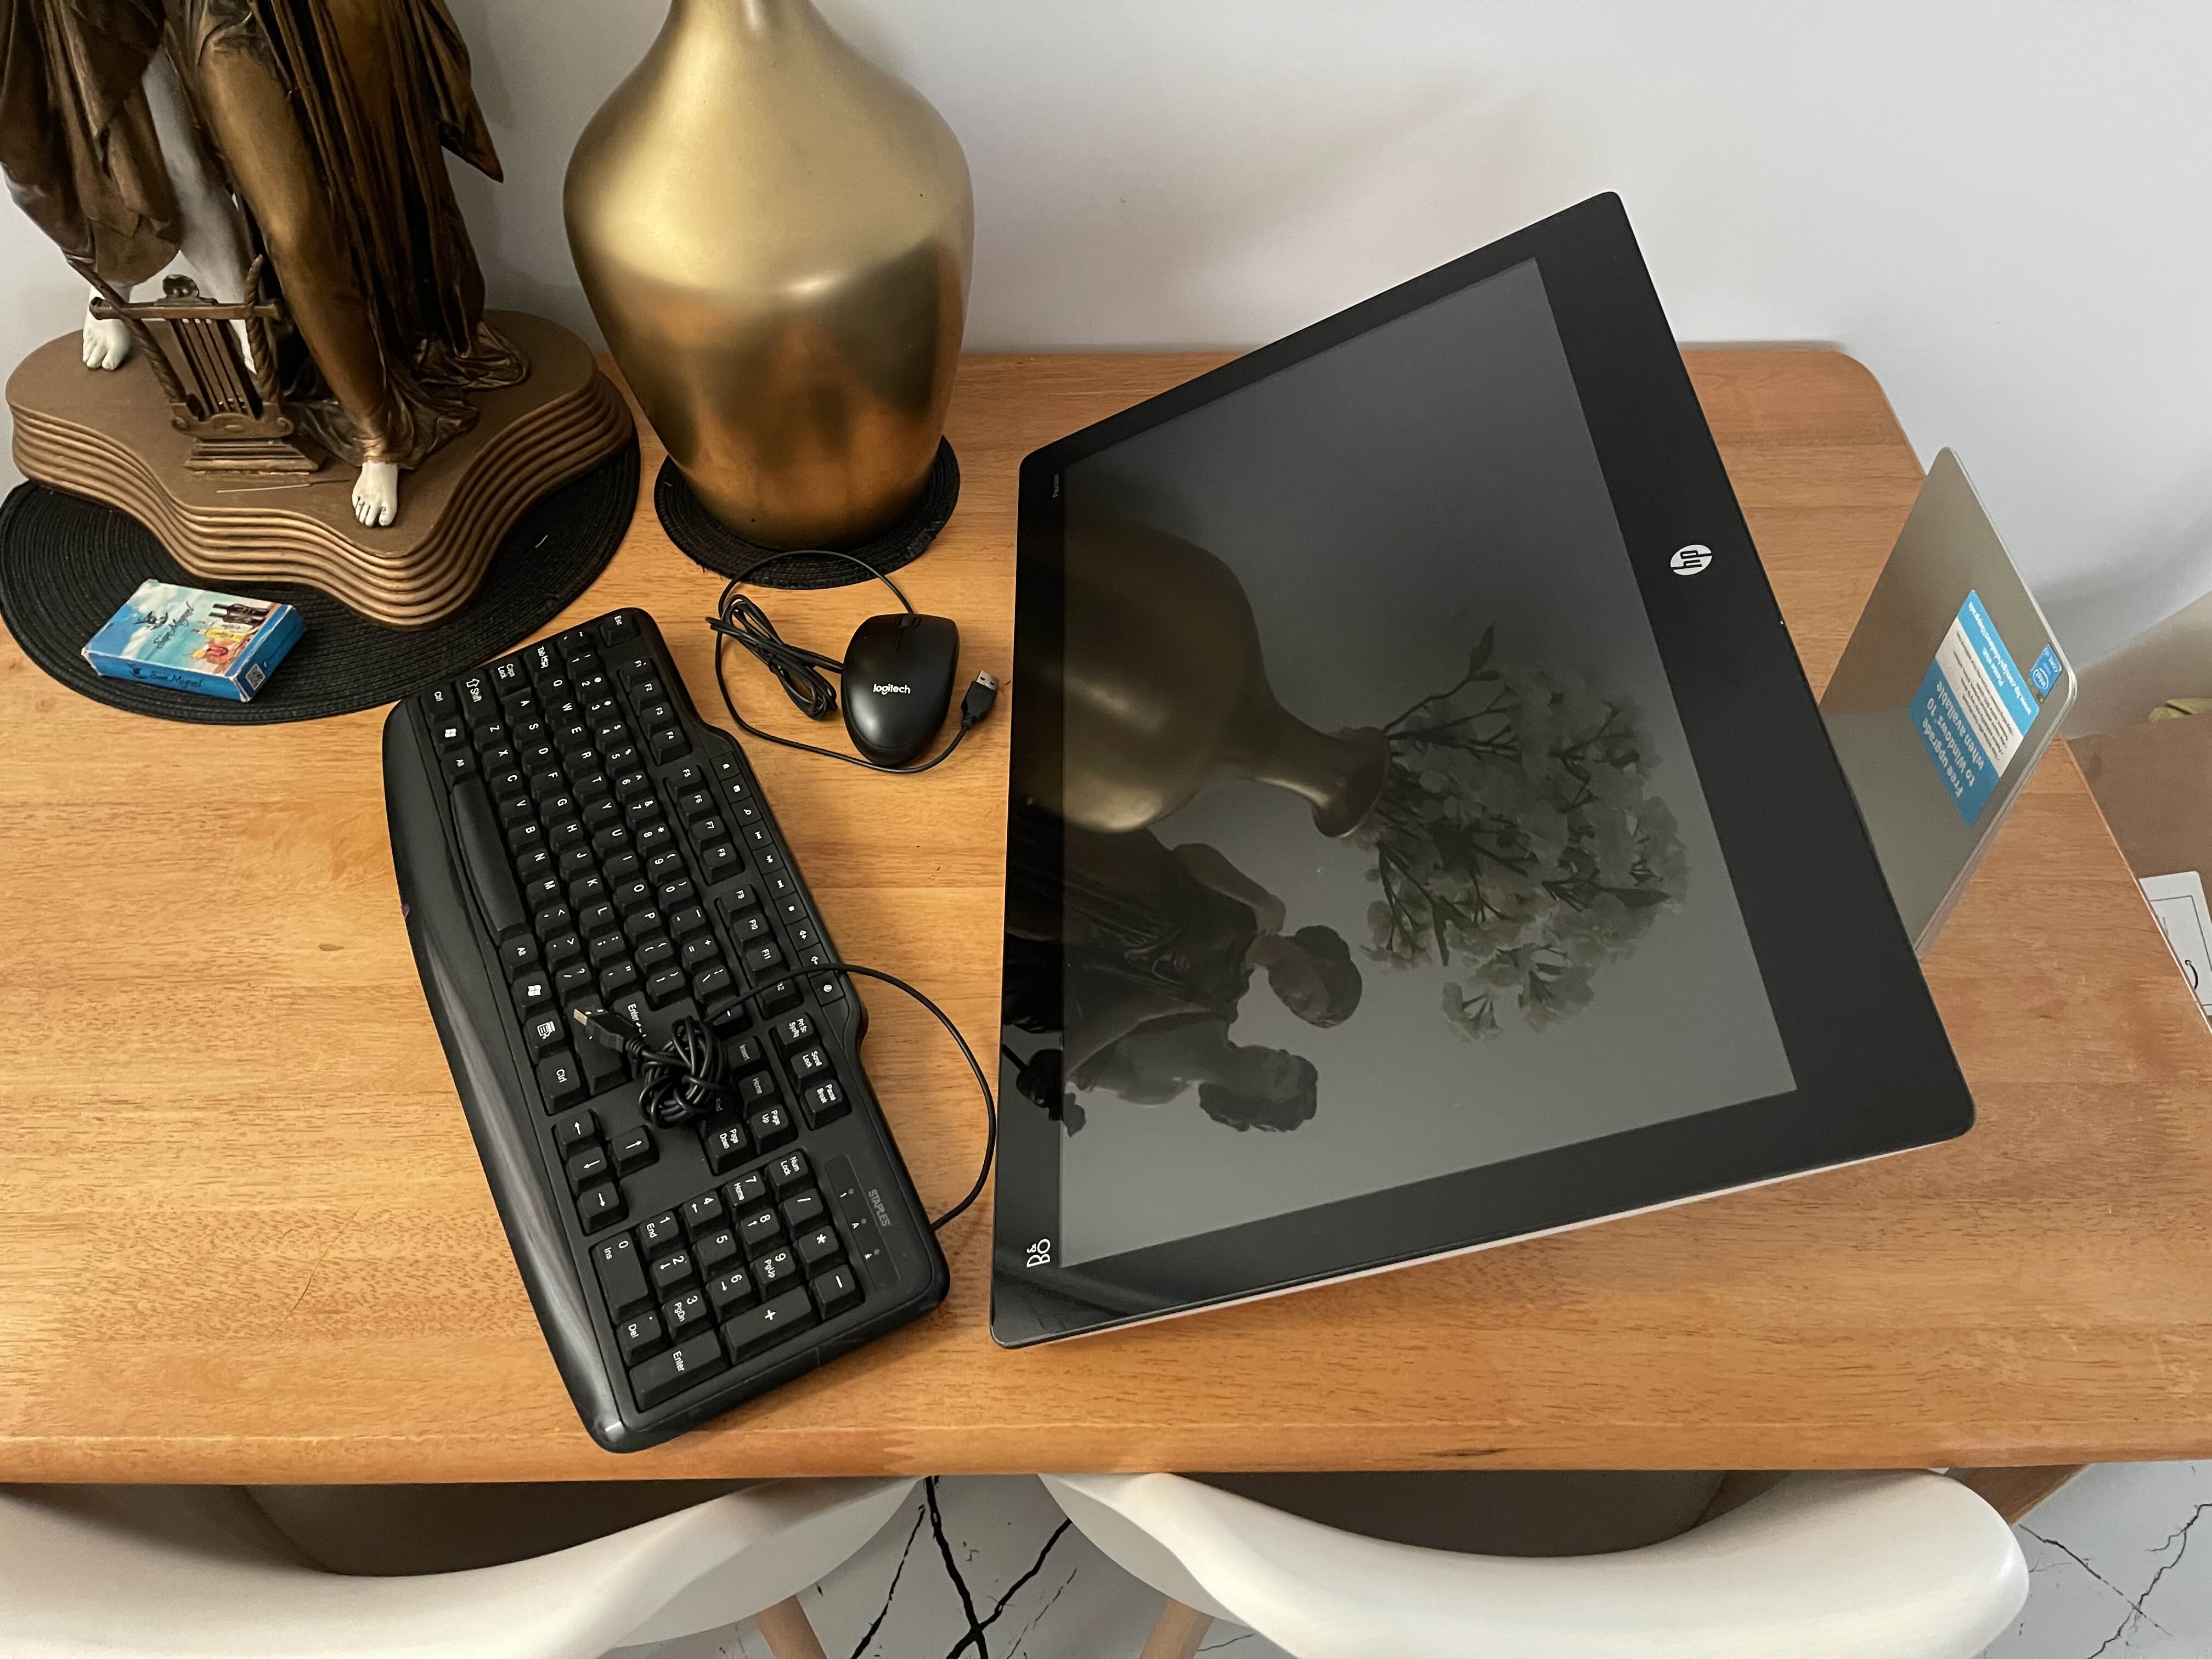
After cleaning it up and powering it on, it booted successfully into Windows 10. Still functional after years of neglect.
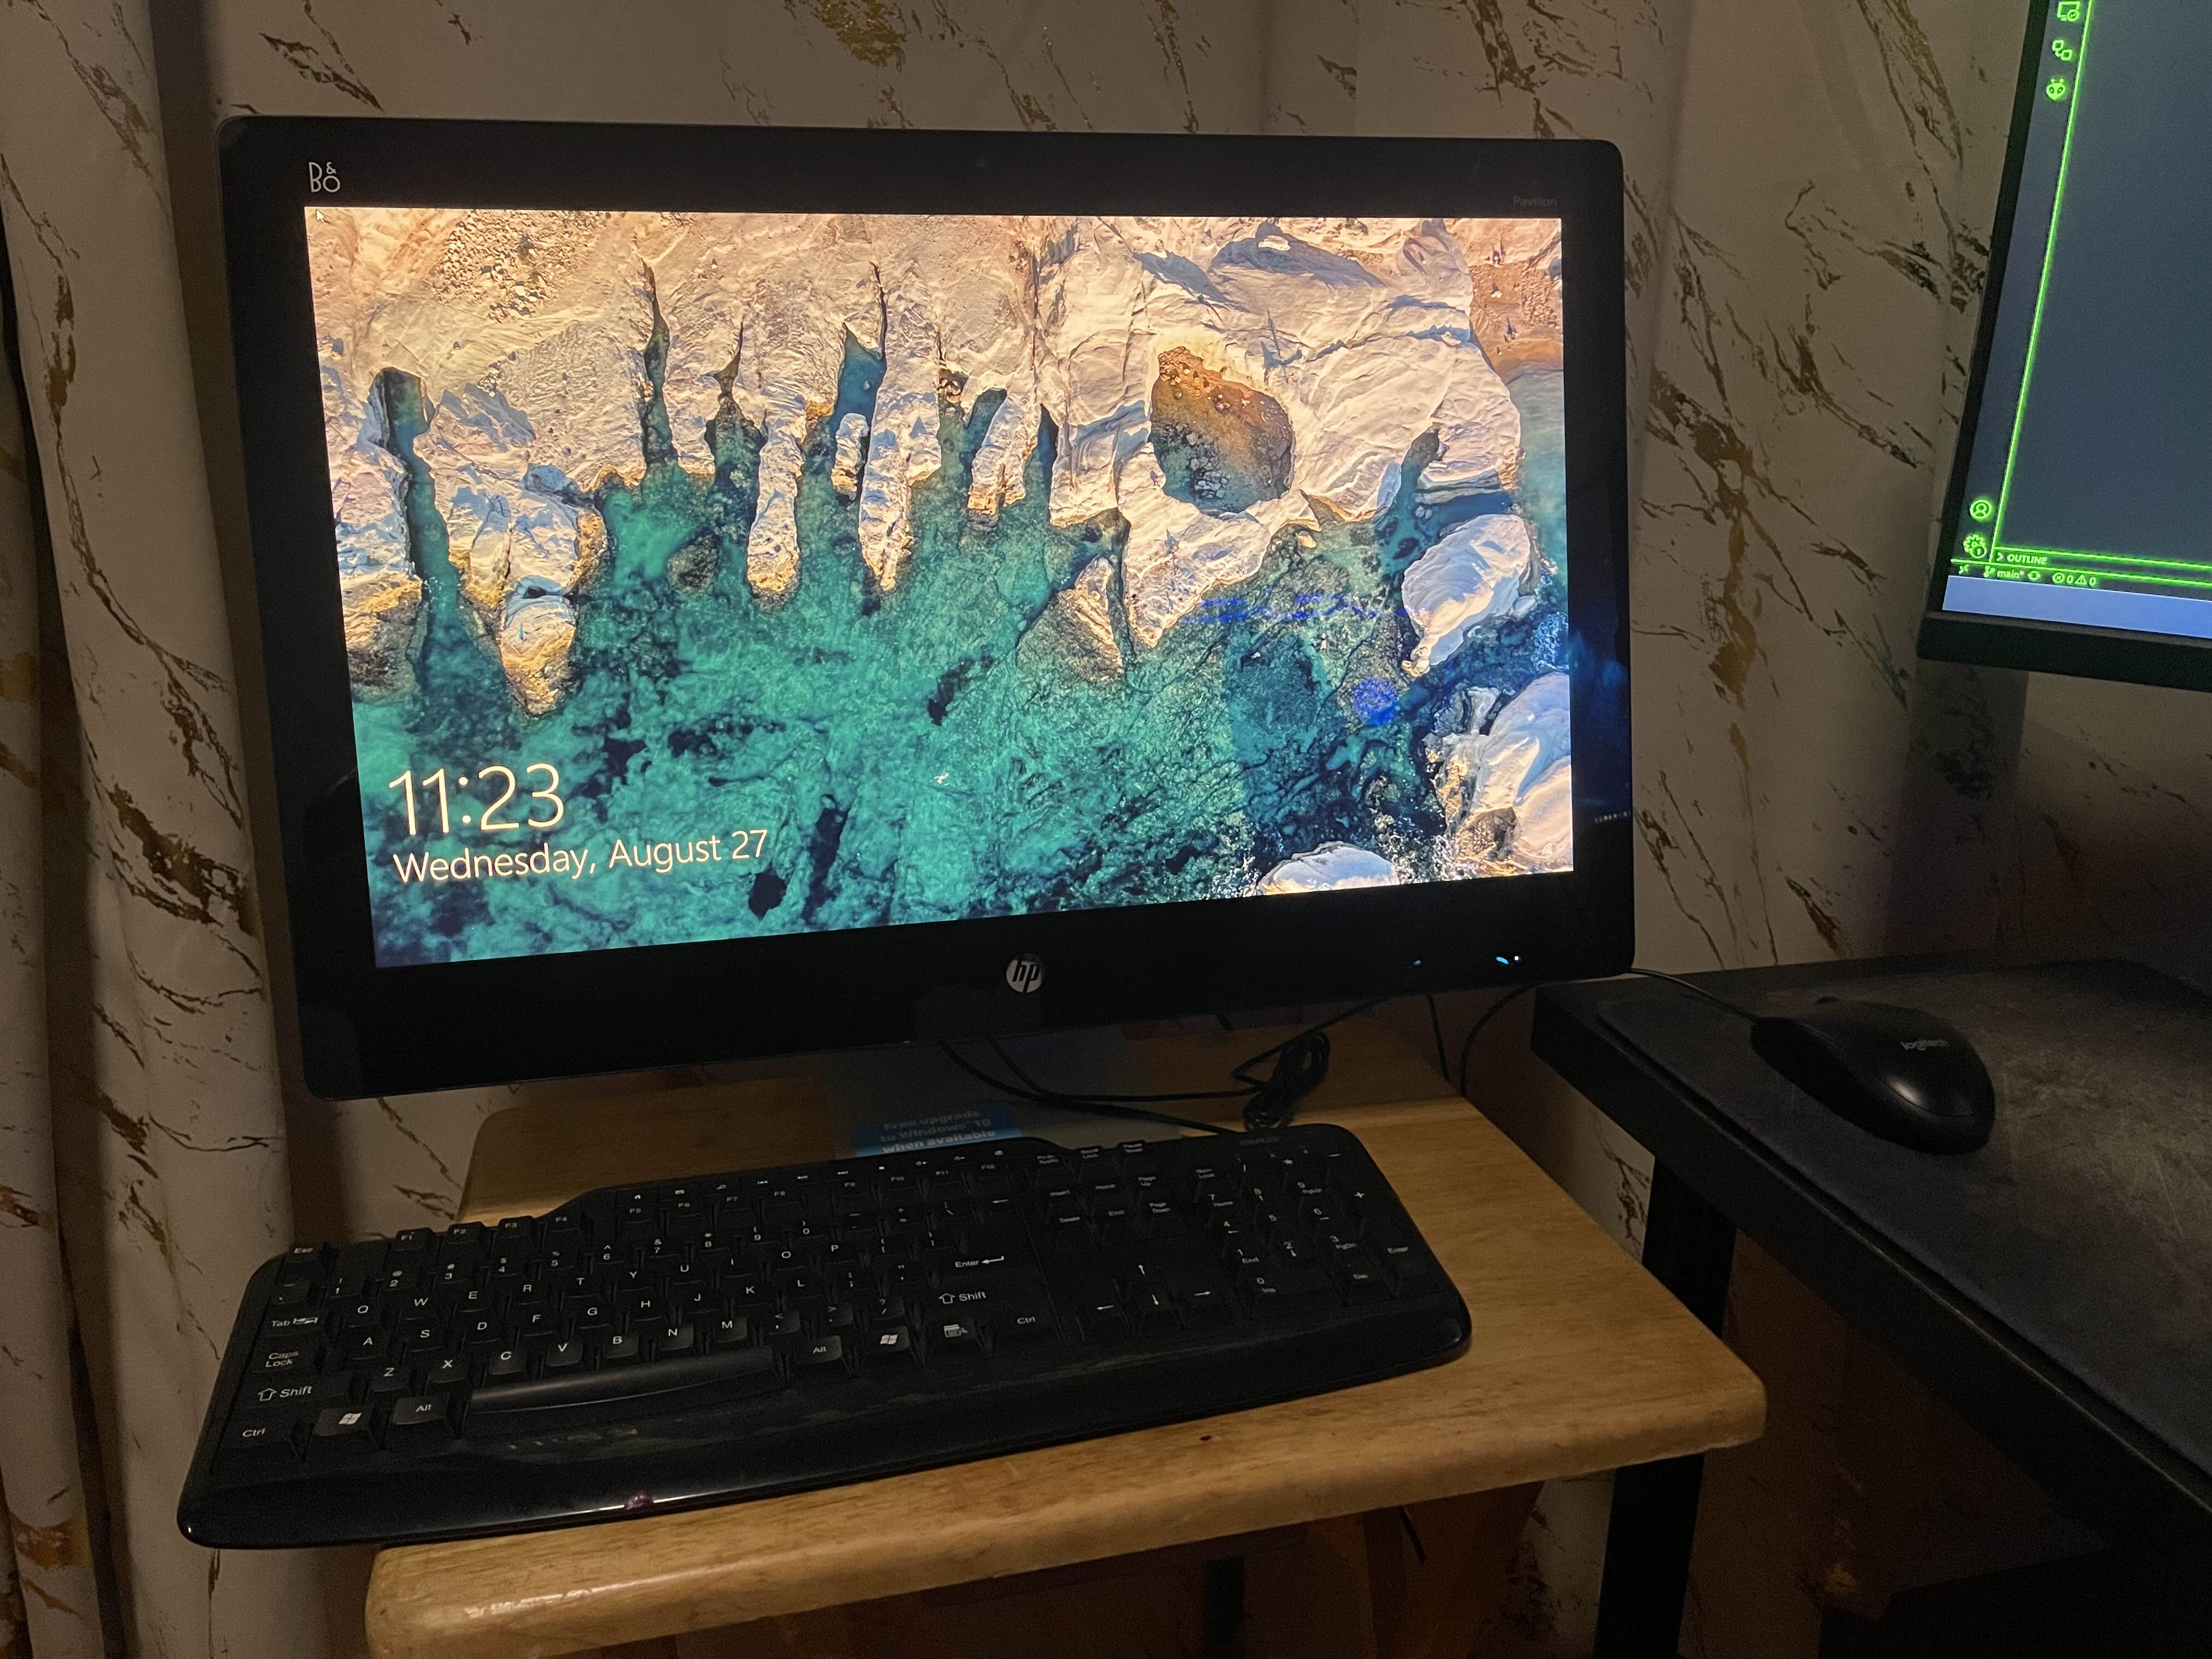 HP Pavilion cleaned up and powered on
Original Specifications
| Spec | Value |
|---|---|
| CPU | Intel Core i5-4590T @ 2.00 GHz |
| Memory | 8 GB DDR3 @ 1600 MHz |
| Storage | WD Blue 1 TB 7200 RPM HDD |
| Graphics | Intel HD Graphics 4600 |
| Wi-Fi | Intel Dual Band Wireless-AC 3160 |
| Ethernet | Realtek RTL8111/8168/8211 |
Not a powerhouse by modern standards, but more than enough for lightweight virtualization, which is exactly what it would be doing.
Hardware Upgrades
Before converting the machine into a server, I decided to perform two upgrades to improve it to a reasonable baseline for server use:
RAM: 8 GB → 16 GB
An additional 8 GB DDR3 stick was installed alongside the existing module, doubling total memory to 16 GB. This provides enough headroom to run multiple virtual machines simultaneously.
Installation was straightforward, slot the new stick into the available SODIMM slot on the motherboard.
Storage: HDD → SSD
The decade-old 1 TB HDD was replaced with a 1 TB SSD. This upgrade has the most impact for any old machine, boot times, I/O operations, and overall responsiveness will improve dramatically.
Minor Challenge: The hard drive cage was designed for a full-sized 3.5” HDD. The slimmer 2.5” SSD was loose inside the enclosure. I improvised a makeshift mount using the SSD packaging material and tape to give it roughly the same physical profile as the original drive — functional but far from elegant.
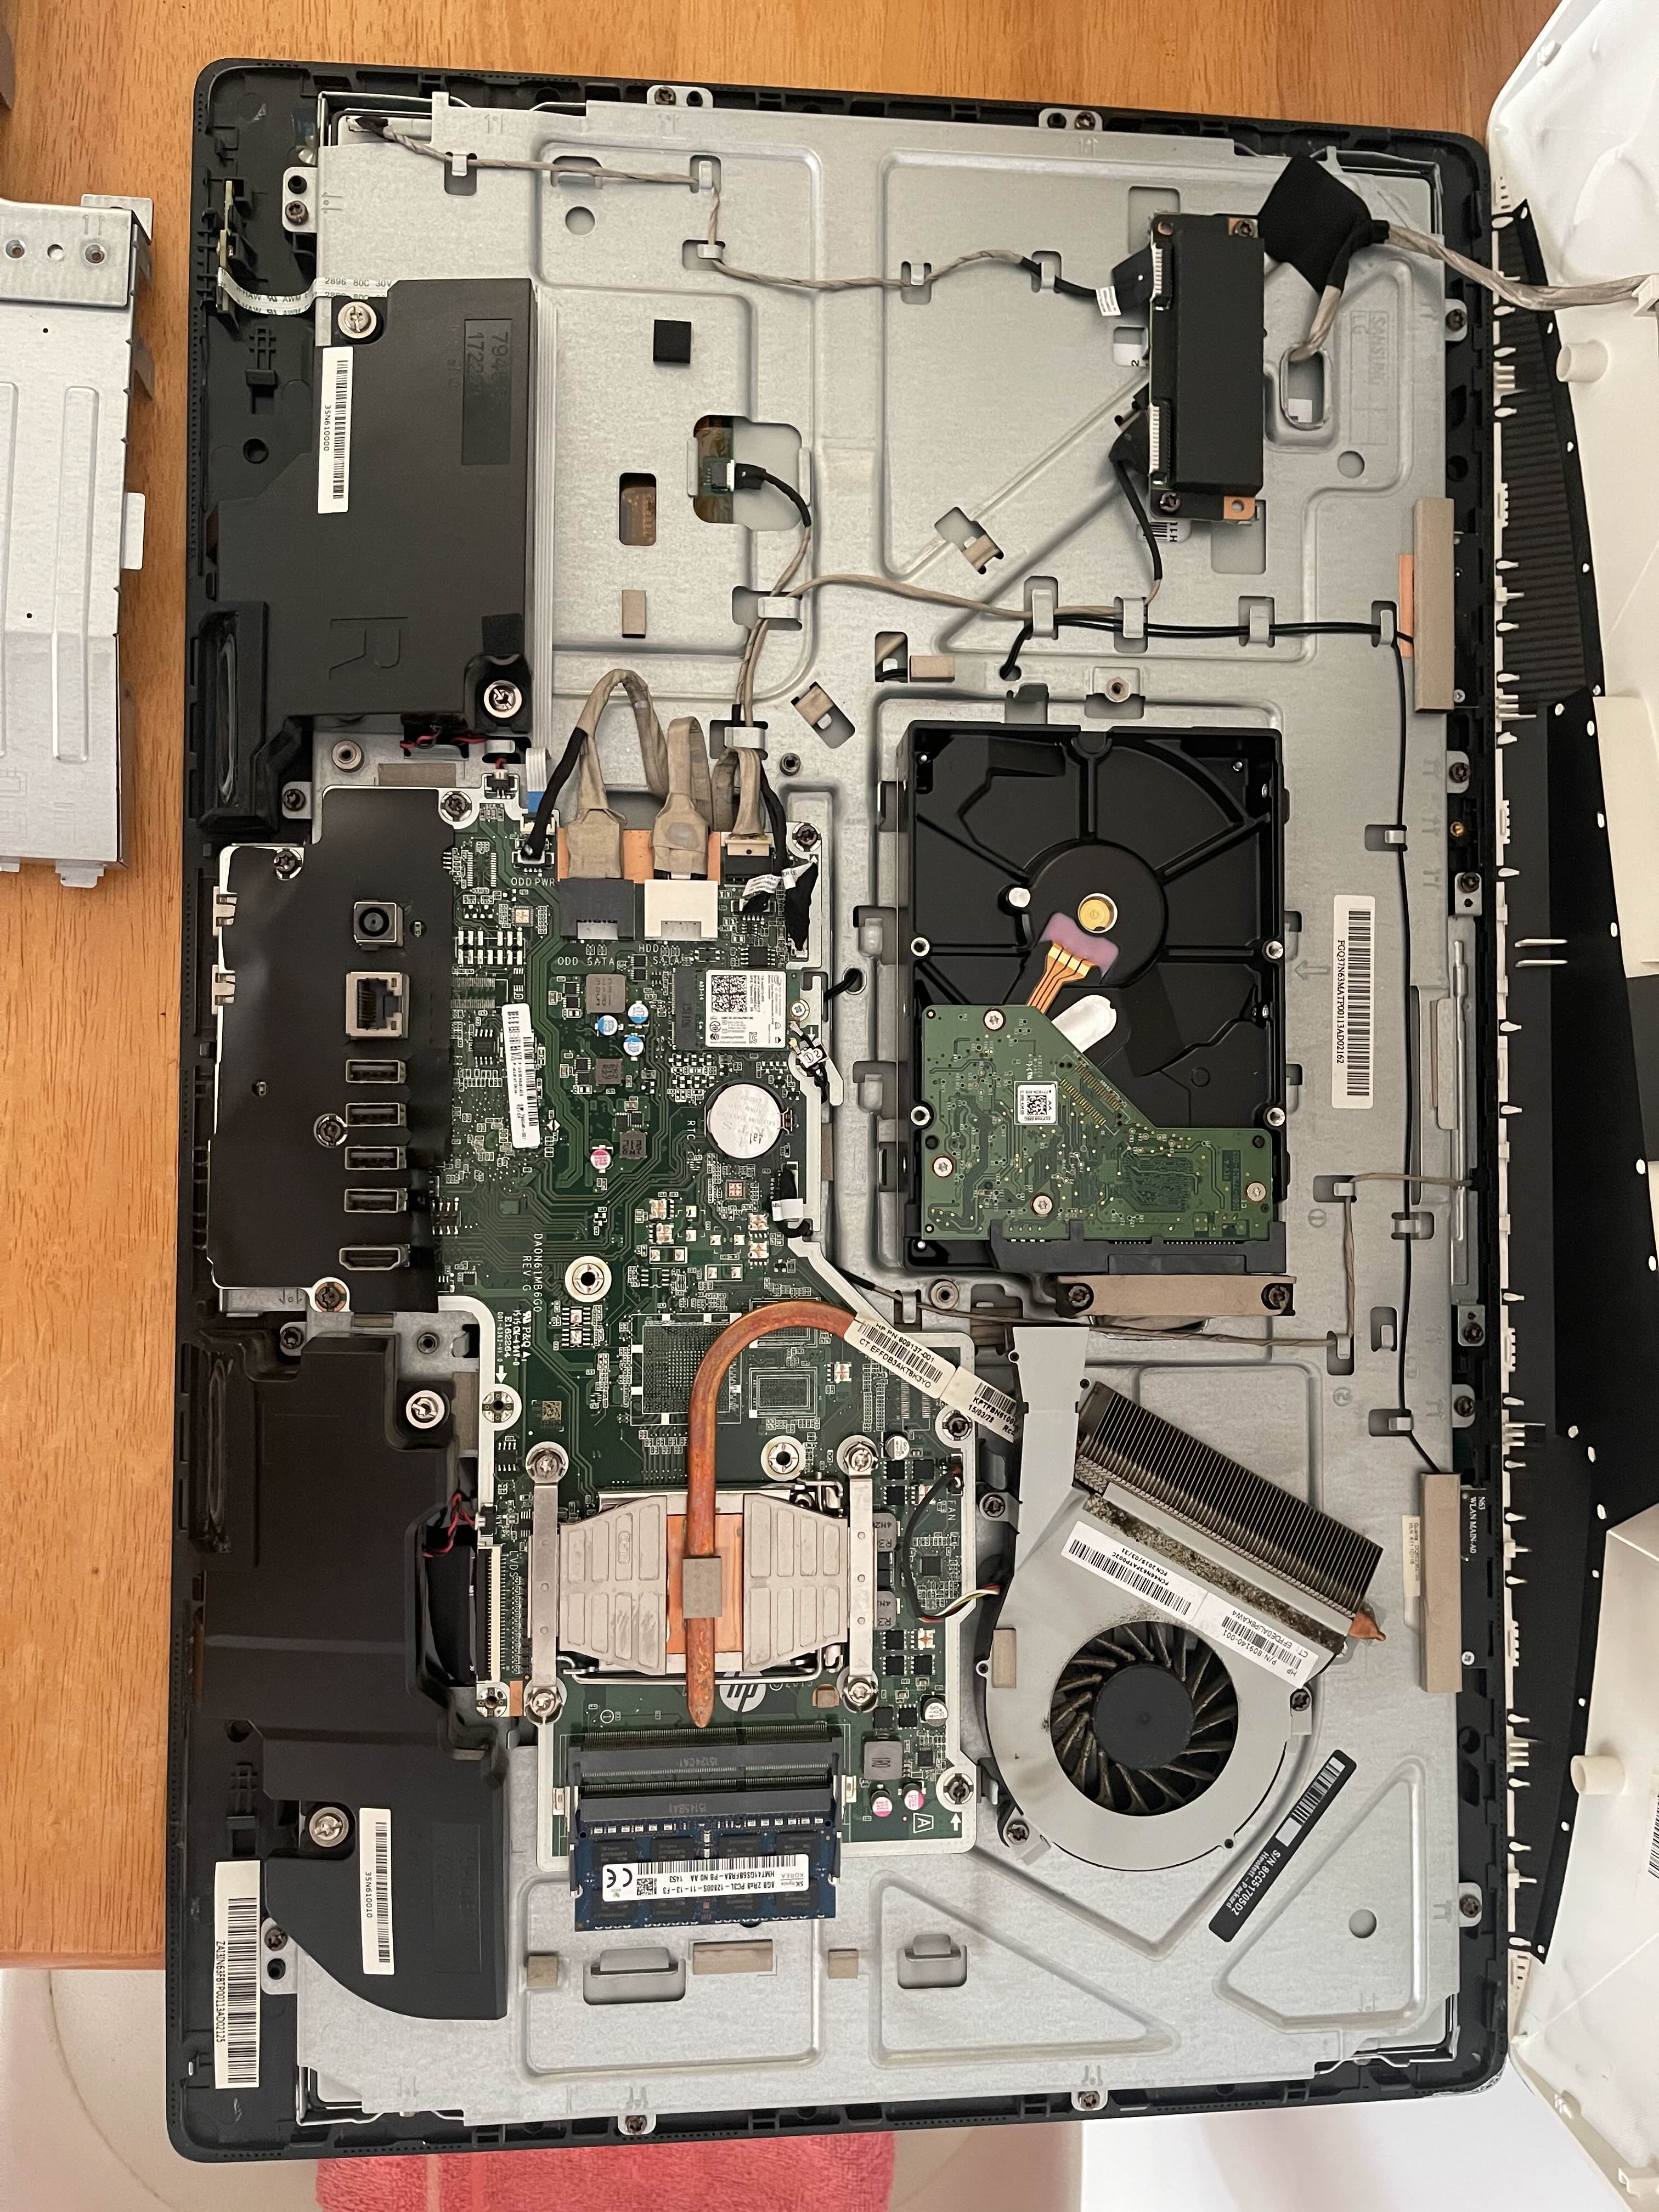 HP Pavilion opened for hardware upgrades
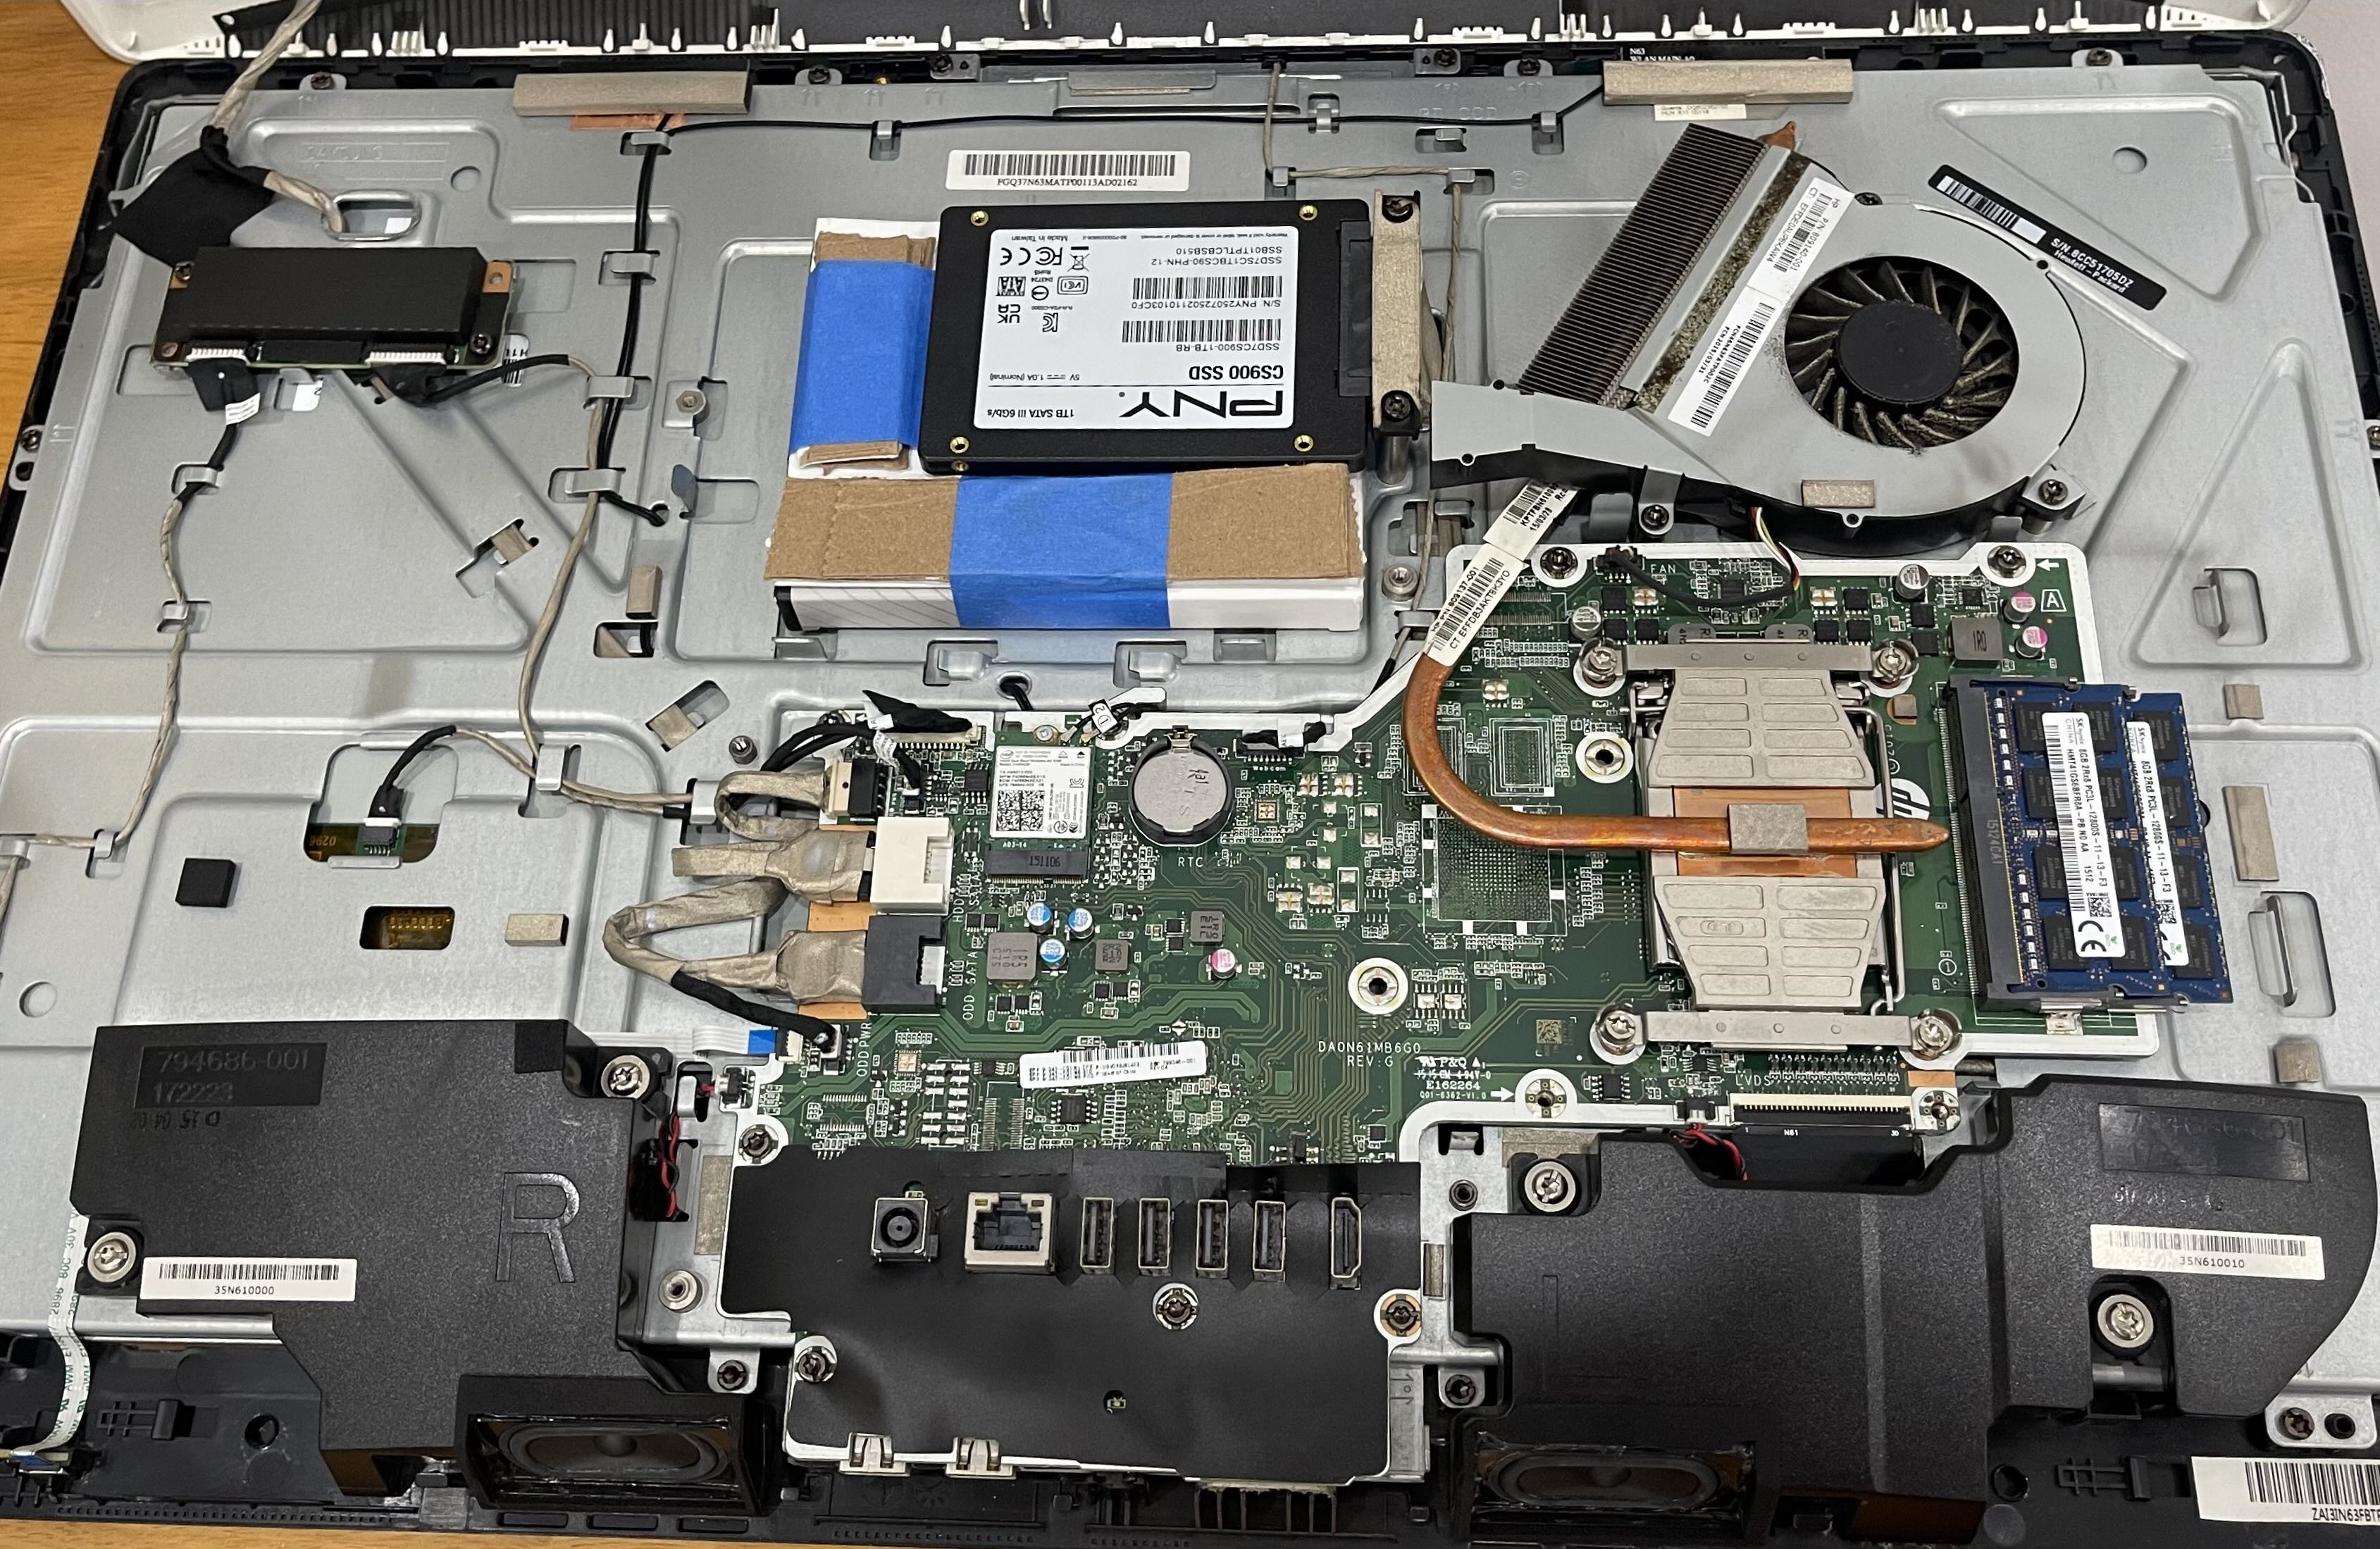 New RAM stick and SSD installed in the Pavilion
Updated Specifications
| Spec | Before | After |
|---|---|---|
| Memory | 8 GB DDR3 | 16 GB DDR3 |
| Storage | 1 TB HDD | 1 TB SSD |
Ready for a New Purpose
With upgrades complete, Pavilion was prepped for its new role — no longer a family desktop, but a dedicated server.
 Refreshed HP Pavilion ready for deployment
What’s Next
The hardware is ready. The next step is deciding what to run on it, specifically, turning it into a bare-metal hypervisor using Proxmox VE and transforming the old machine into a platform capable of running multiple isolated virtual workloads simultaneously.