Installing Proxmox VE: The Hypervisor
Installing Proxmox VE, a Type 1 hypervisor, troubleshooting BIOS boot issues, and accessing the web interface.
Overview
With the Pavilion upgraded and ready, the next decision was what to actually do on it. The answer was virtualization. Specifically, turning it into a bare-metal hypervisor using Proxmox VE. This post covers what a hypervisor is, why Proxmox was chosen, and an installation process that required some troubleshooting before it successfully deployed.
What is a Hypervisor?
A hypervisor is software that allows one physical machine to run multiple isolated virtual machines simultaneously. Each VM receives its own allocated CPU, RAM, and storage, and behaves like an independent computer, from the network’s perspective it appears as a separate machine, and from the host’s perspective it is a process consuming resources.
Type 2 — Application-Level Virtualization
Type 2 hypervisors run on top of an existing operating system. VirtualBox and VMware Workstation are common examples, installed on Windows or macOS like any other application. This works for casual use, but the host OS runs underneath at all times, consuming resources and adding overhead between VMs and the hardware.
Type 1 — Bare-Metal Virtualization
Type 1 hypervisors run directly on hardware. There is no host OS, the hypervisor is the operating system. This delivers better performance, better resource efficiency, and a machine purpose-built for running virtual workloads.
For a my homelab server, Type 1 is the correct choice. The machine has one job: run virtual workloads as efficiently as possible. Making a Type 2 Hypervisor inappropiate for my specific use case.
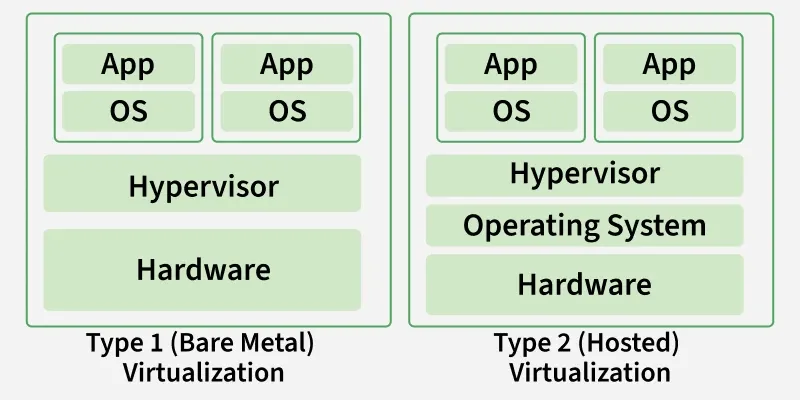 Type 1 vs Type 2 Virtualization
Why Proxmox VE?
The options I found online for a Type 1 hypervisor were Proxmox VE and VMware ESXi. Forums online detailed how ESXi’s free tier has become increasingly restricted since Broadcom’s acquisition. Thus leading me to choose Proxmox for my homelab. Here are some of its merits I frequently saw mentioned online:
| Feature | Benefit |
|---|---|
| Web-based management UI | Everything managed from a browser, no separate client needed |
| VMs and LXC containers | More flexibility than hypervisors limited to full VMs |
| Active community | Extensive documentation, forums, and community helper scripts |
| Free and open source | No license expiration or feature gating |
The enterprise subscription unlocks certain update channels, but the free tier is fully functional. Proxmox is also common enough in small production environments that learning it has real-world professional relevance beyond the homelab.
Installation
Preparing the Boot Media
The process begins with downloading the Proxmox VE ISO from the official site and flashing it to a USB drive. I initially used balenaEtcher for this. Select the ISO, select the drive, flash.
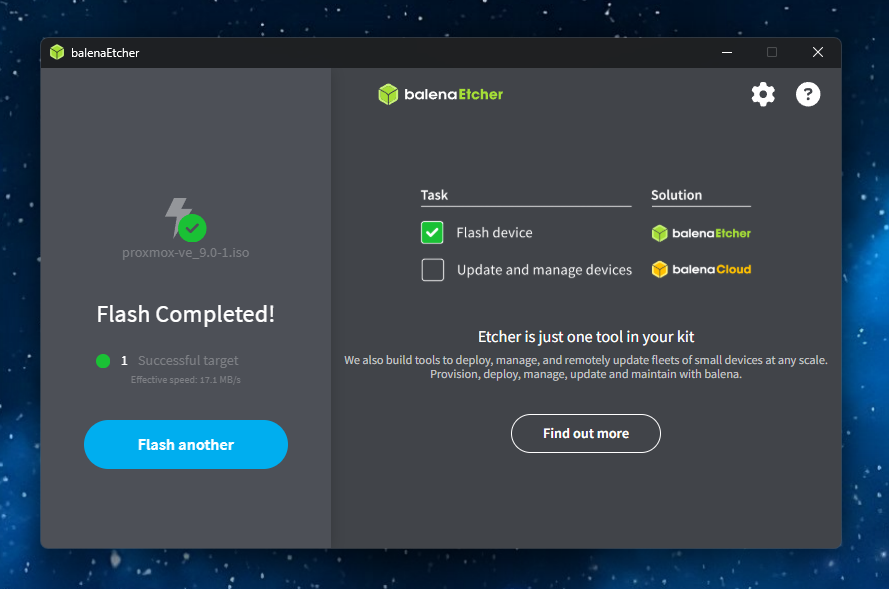 Flashing the Proxmox VE ISO to USB with balenaEtcher
Straightforward in theory, until the issues began.
Troubleshooting: Legacy Boot
With the USB ready, I entered the BIOS, disabled every other boot source, and pointed it at the USB drive. The installer would not load, the drive was not detected.
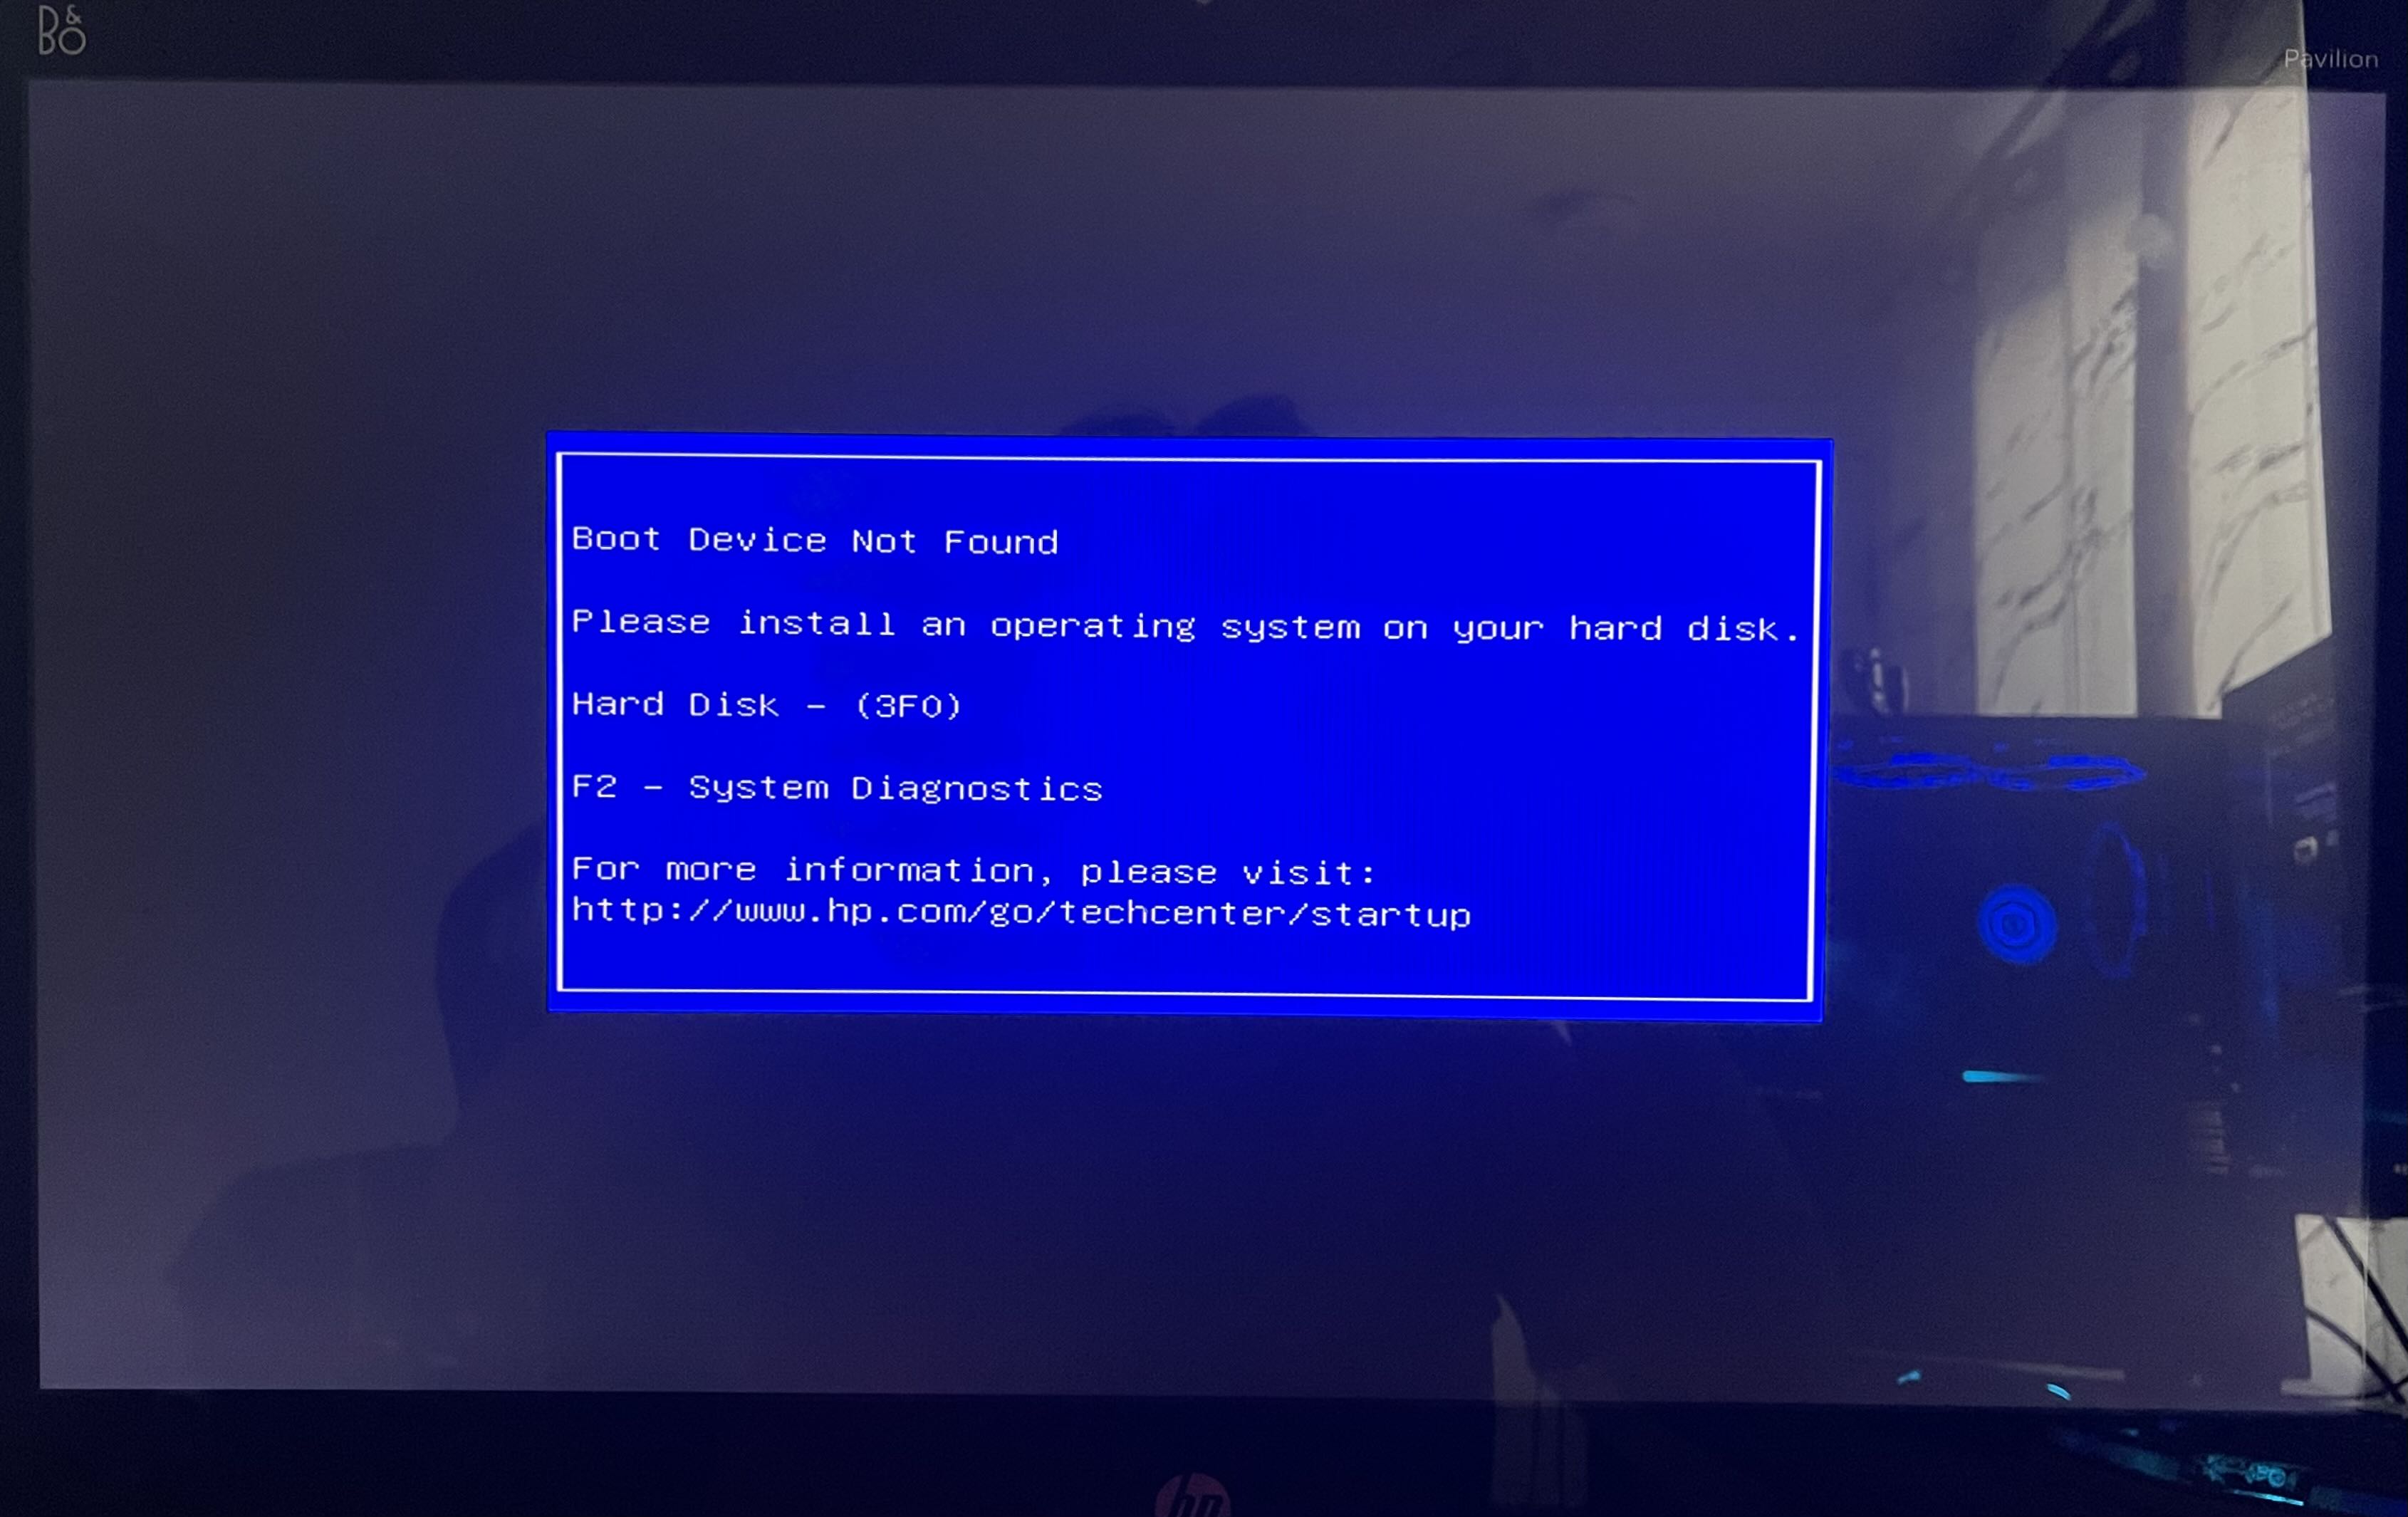 USB drive not detected in BIOS boot menu
After research, the fix was enabling Legacy Boot in the BIOS. Modern systems default to UEFI-only mode, but the Pavilion is old enough that this causes conflicts with certain bootloaders. Enabling Legacy Boot alongside UEFI resolved the detection issue.
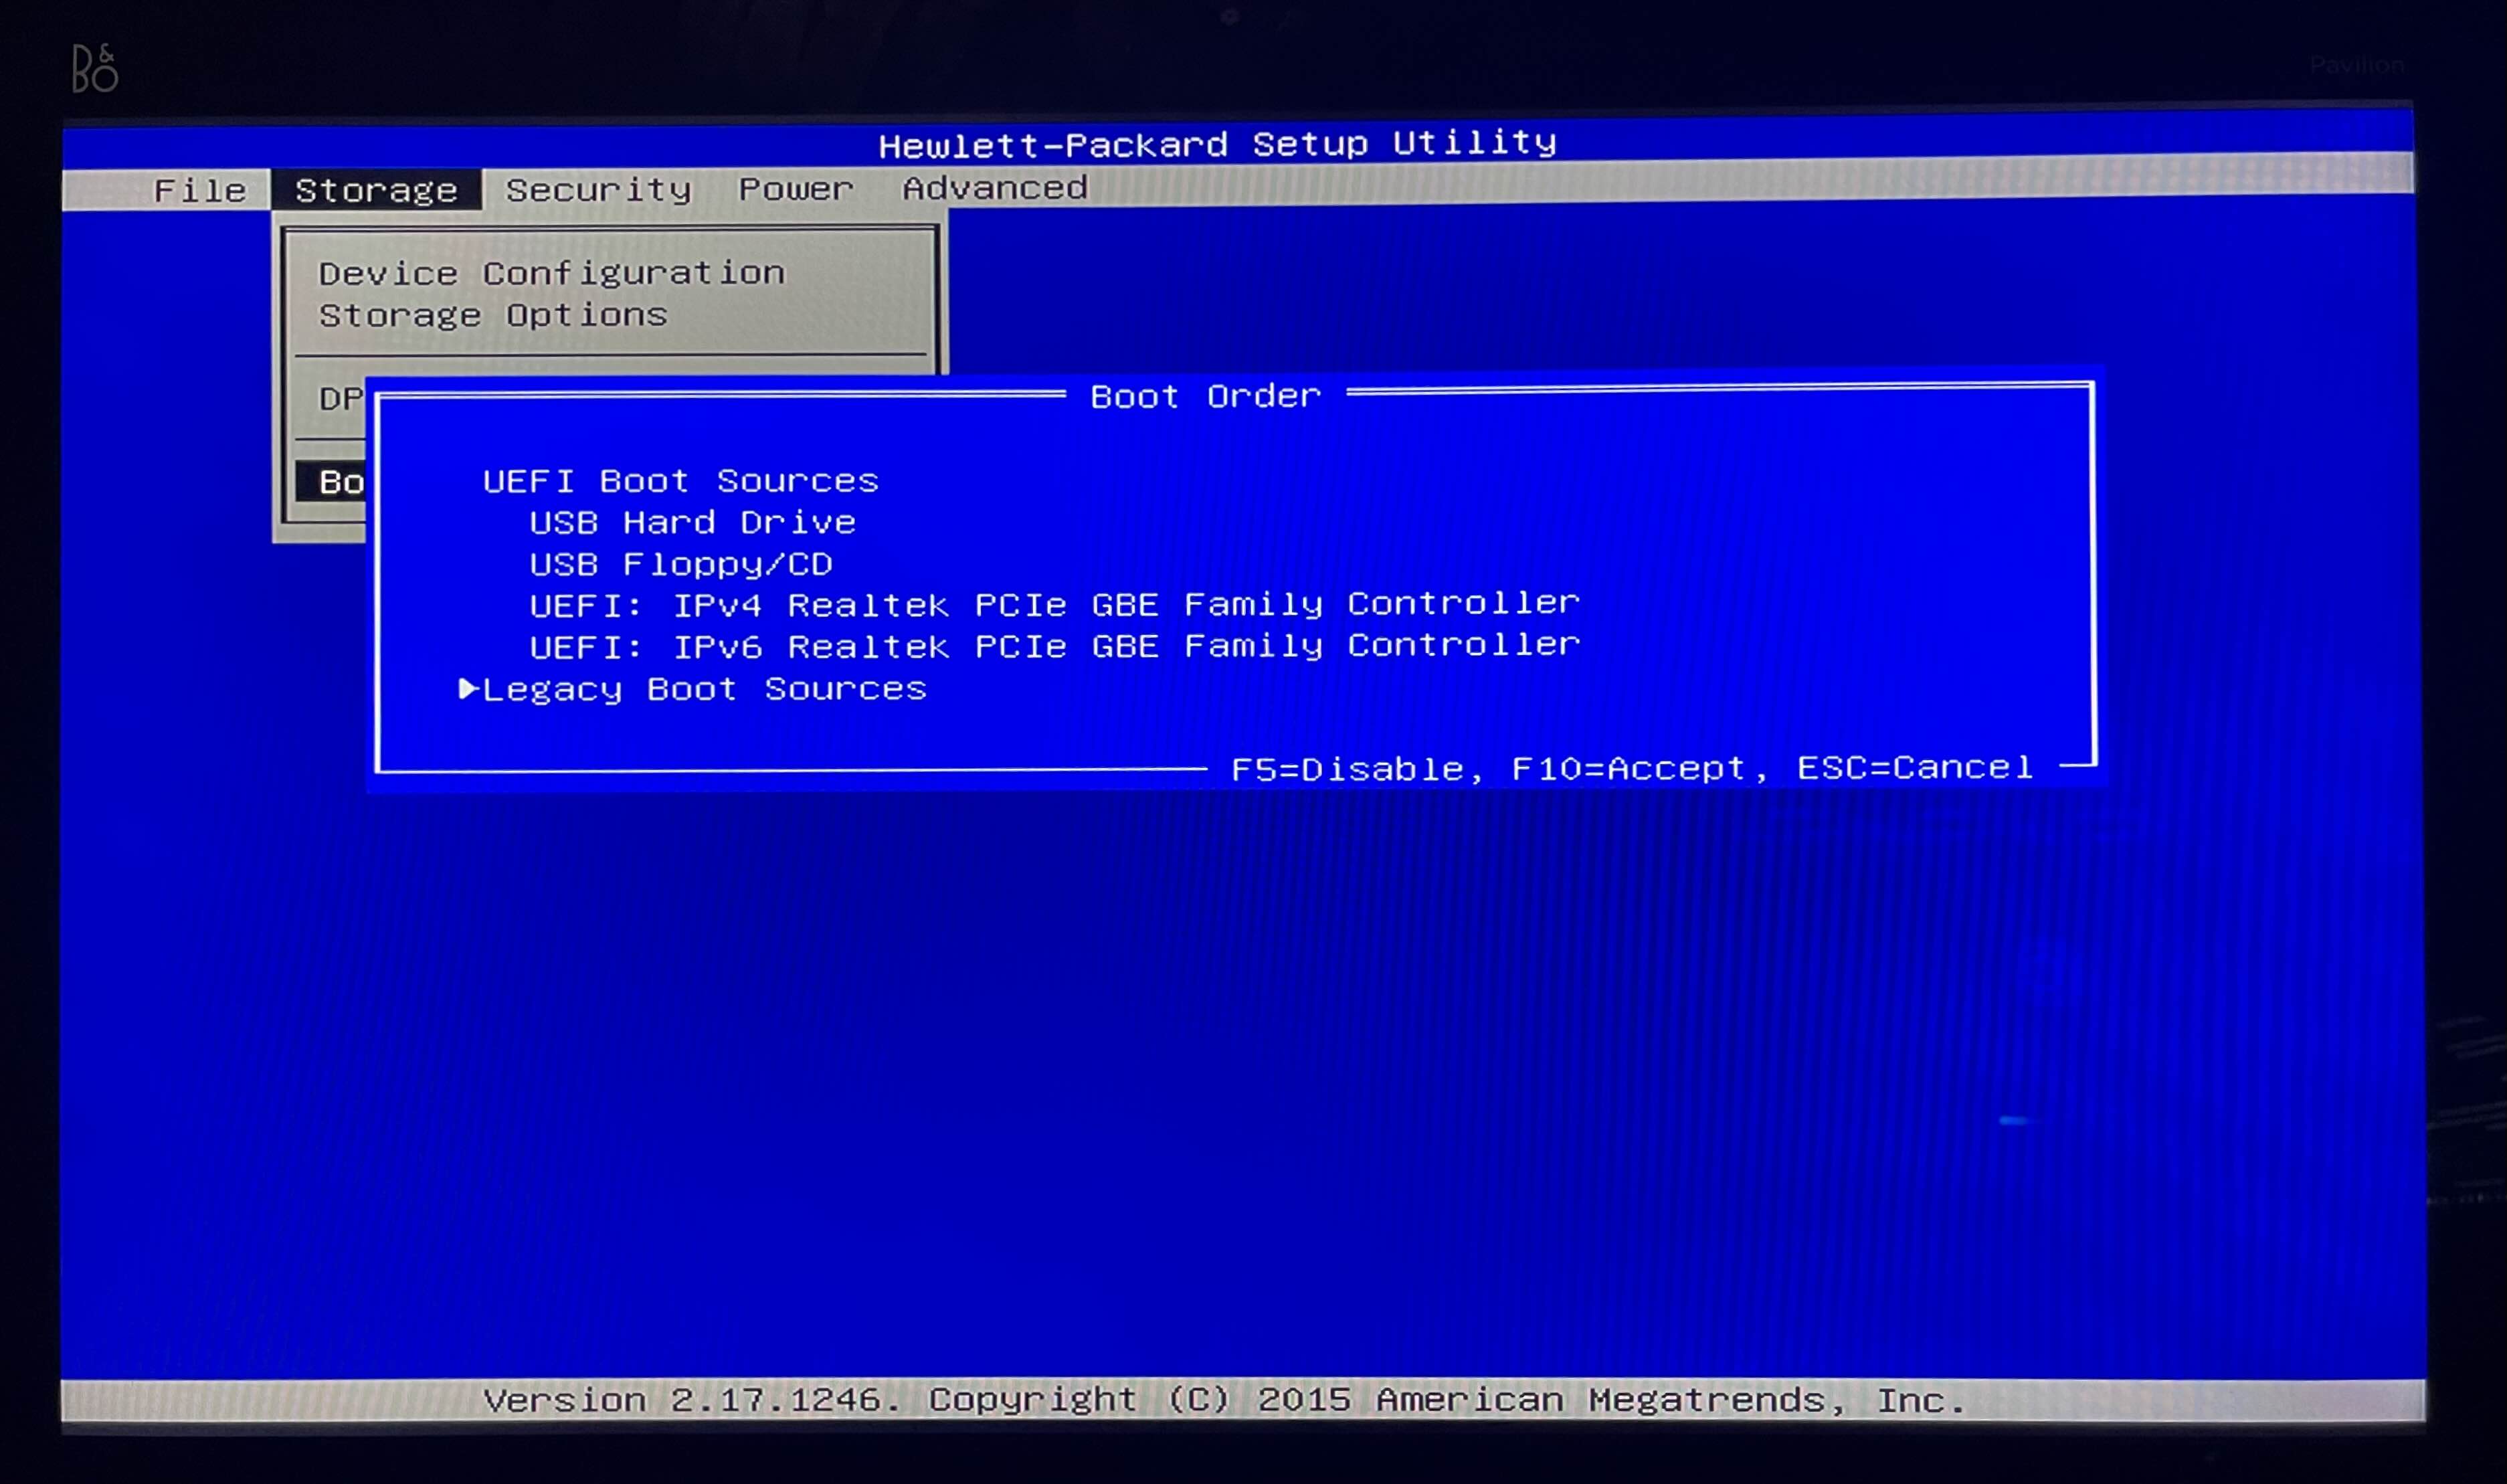 Enabling Legacy Boot in the Pavilion BIOS settings
I also switched from balenaEtcher to Ventoy, a tool that turns a USB drive into a bootable launcher. Rather than reflashing the drive for each ISO, Ventoy reads ISO files dropped directly onto the drive and presents a boot menu. One drive, multiple ISOs, no reflashing needed. It resolved the remaining detection issues and is also a nifty tool I will probably end up using down the line.
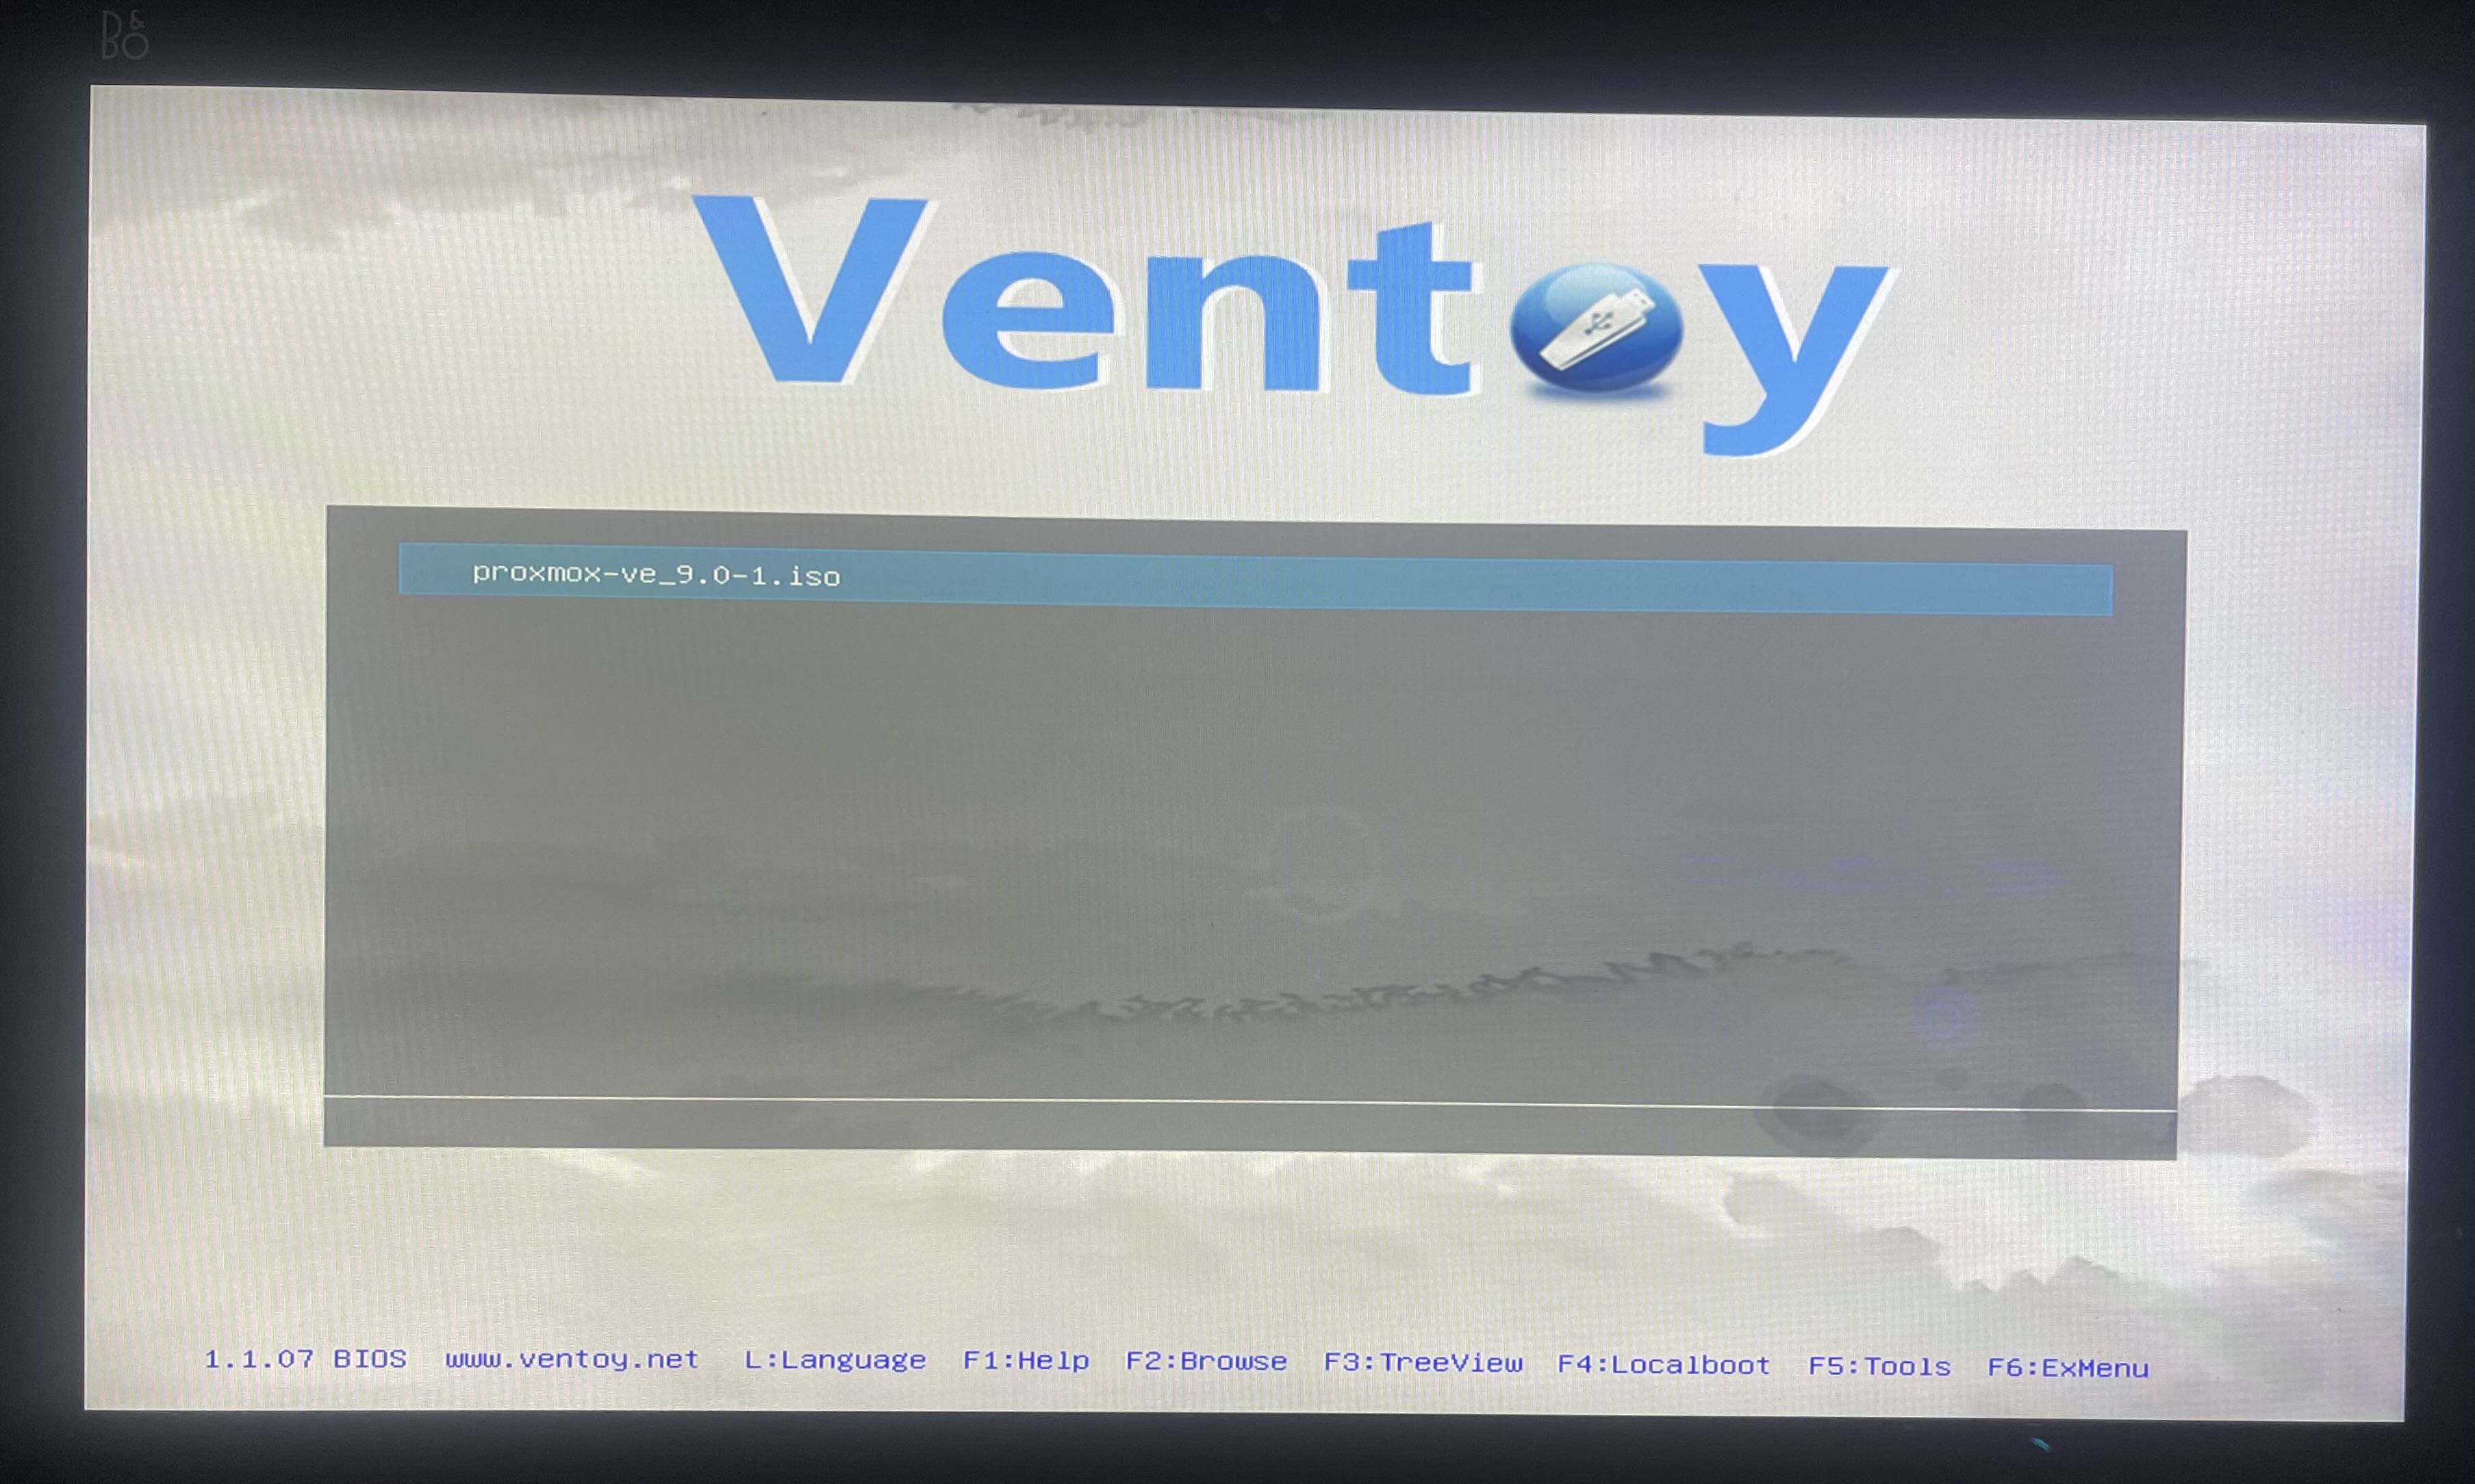 Ventoy boot menu with the Proxmox VE ISO loaded
Lesson learned: If a USB boot drive is not detected on older hardware, enable Legacy Boot alongside UEFI in the BIOS. If detection issues persist, try Ventoy instead of traditional flashing tools.
Running the Installer
With the USB recognized, the Proxmox installer loaded cleanly and walked through a handful of configuration steps:
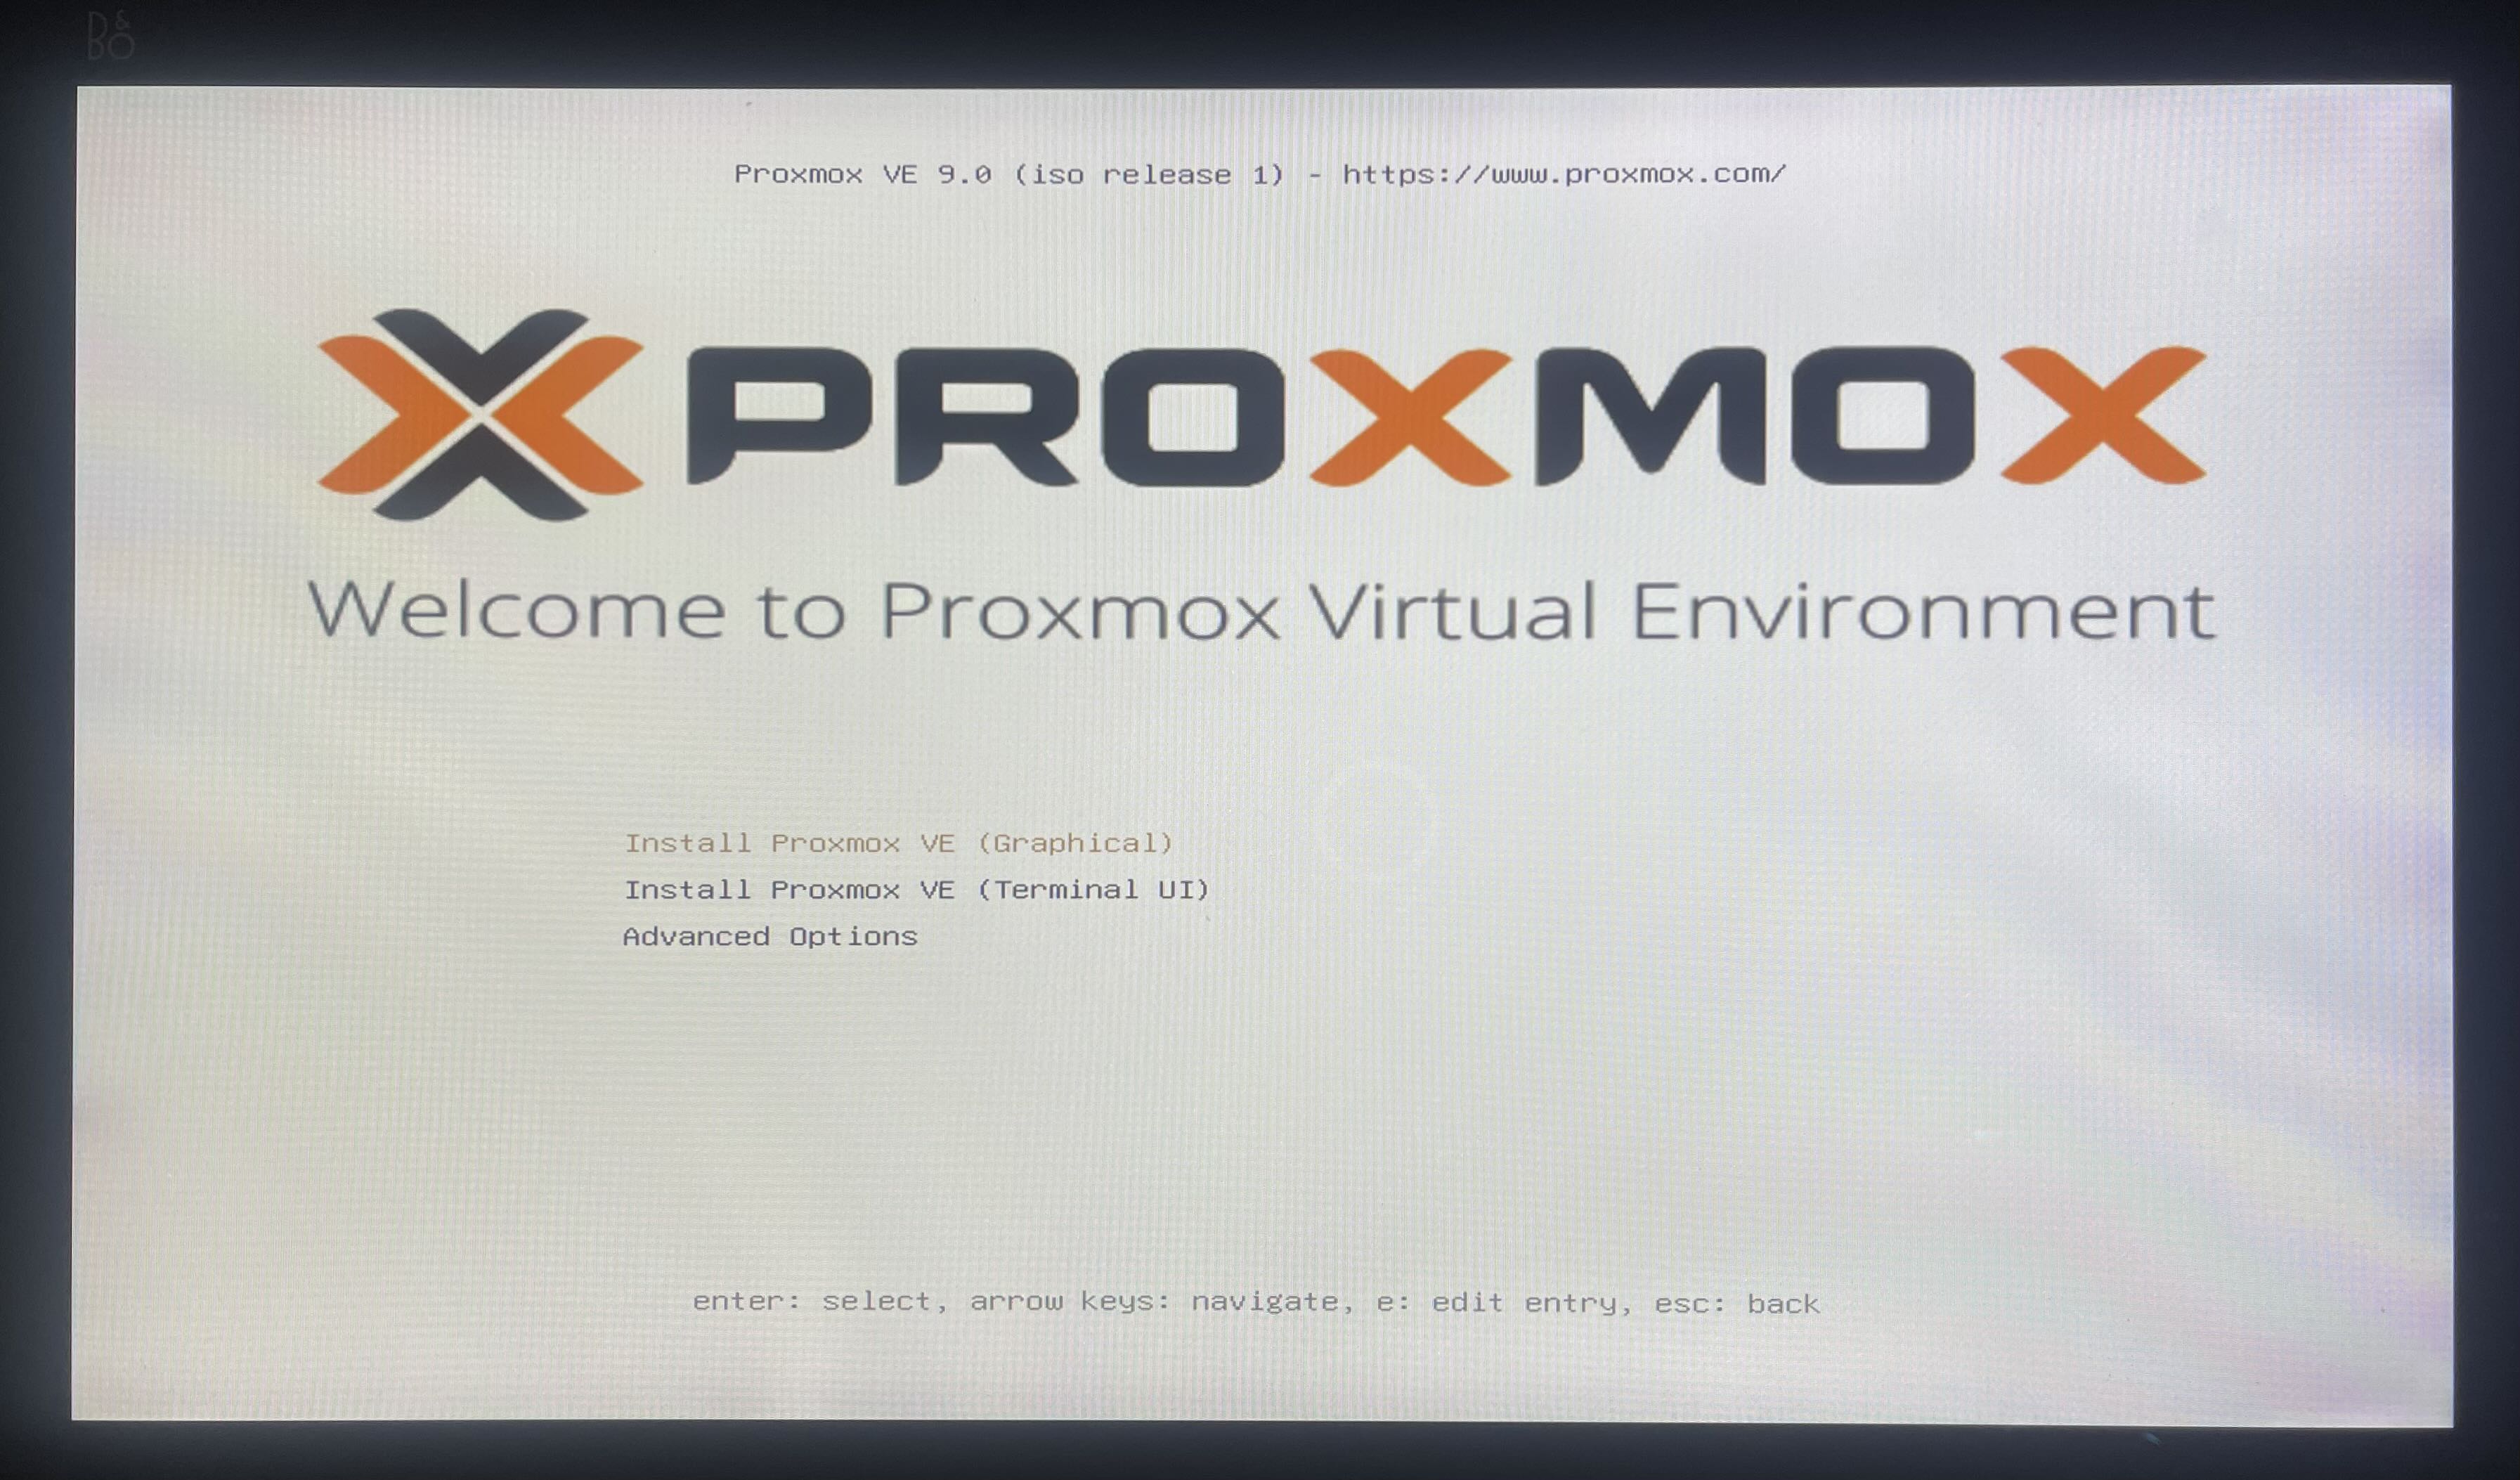 Proxmox VE installer running successfully
| Step | Configuration |
|---|---|
| Target disk | 1 TB SSD (installed in the previous post) |
| Root password | Set for management access |
| Admin email | Set for notifications (I used placeholder) |
| Hostname | Configured for network identification |
| Management IP | Static assignment on the local network |
The management IP is IMPORTANT, it is the address used to access the web UI going forward. A static assignment was configured on the router to prevent it from shifting after a reboot.
First Login
After rebooting, Proxmox VE was accessible from any browser on the network at https://<proxmox-ip>:8006.
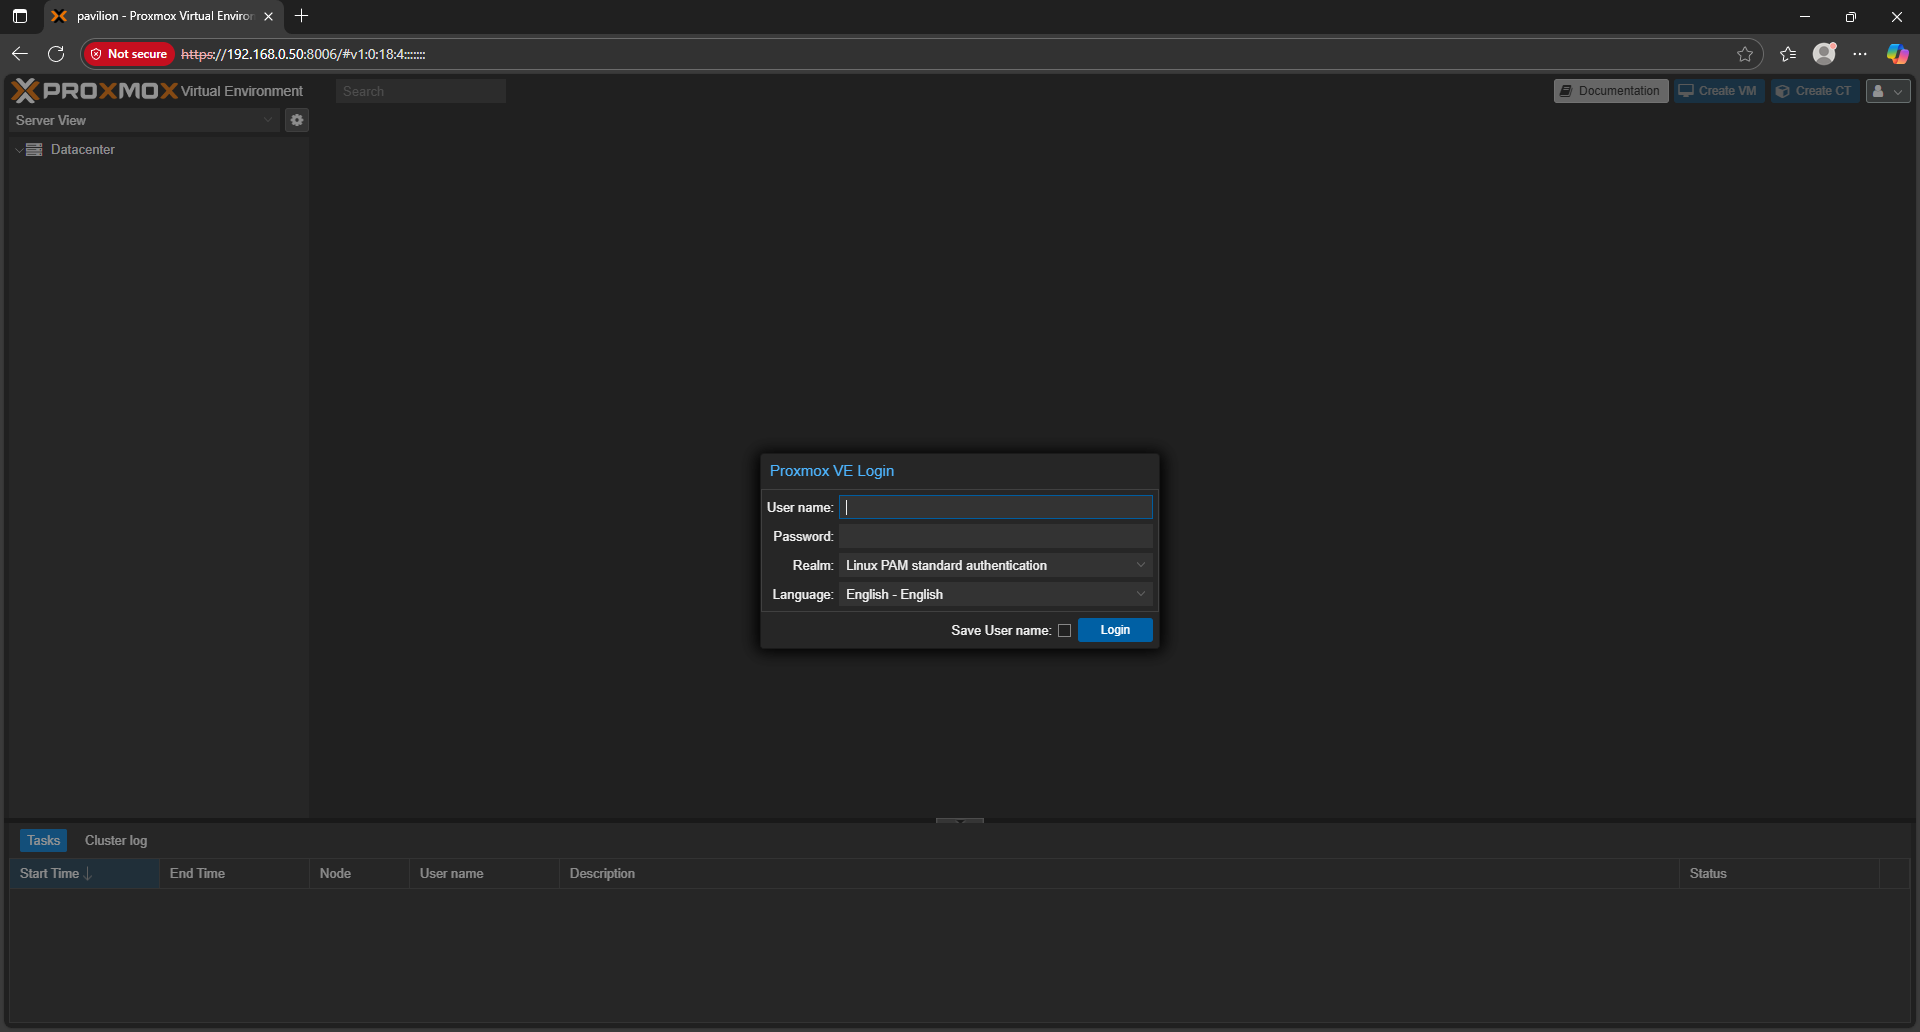 Proxmox VE web UI login screen
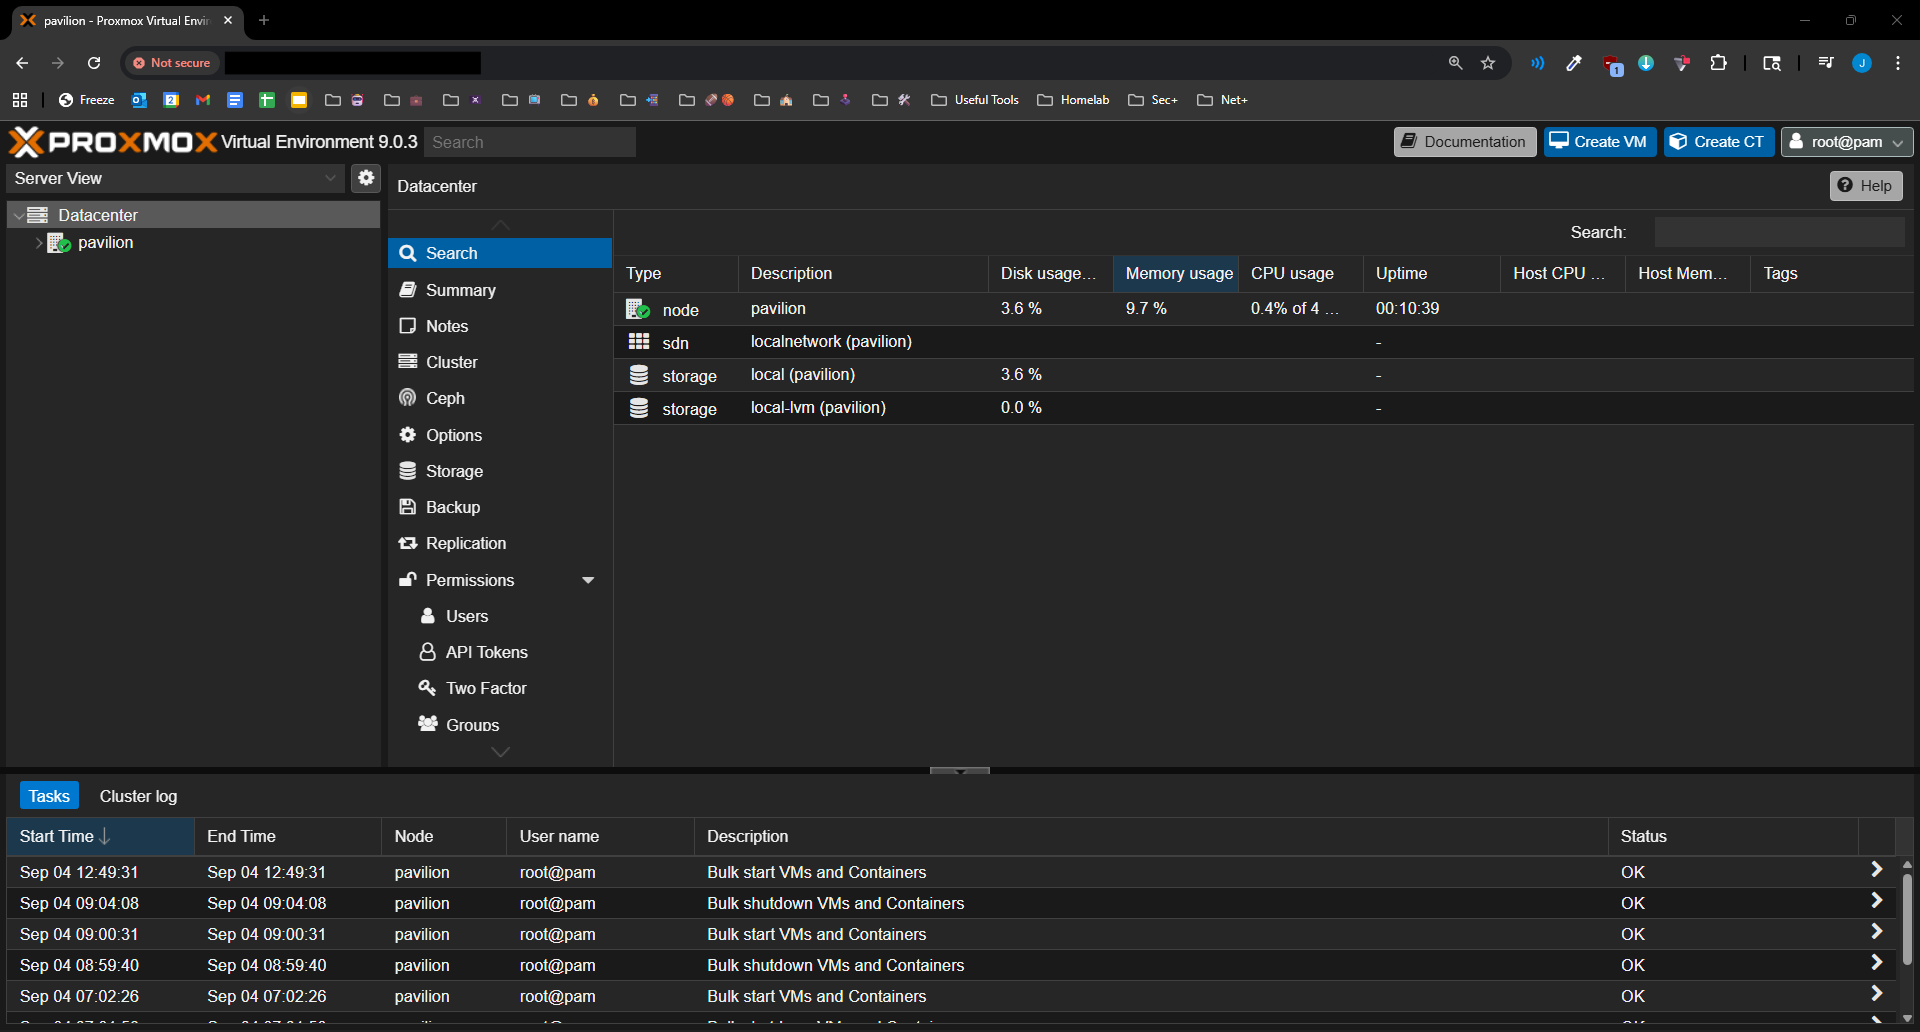 Proxmox VE management dashboard showing the node, resources, and storage
The dashboard displays the node status, available resources, and storage pools. A proper server management interface, running on a machine that was collecting dust a week earlier. The Pavilion was officially a hypervisor.
What’s Next
The foundation is in place. Next up: deploying the first real service, Pi-hole running inside an LXC container, to provide network-wide DNS filtering and visibility into what every device on the network is communicating with.