Pi-hole: Network-Wide DNS Filtering
Deploying Pi-hole, a network-wide DNS sinkhole, inside a container to block ads, trackers, and view DNS traffic.
Overview
With Proxmox running on the Pavilion, the next objective was deploying a meaningful service on top of it. Pi-hole, a network-wide DNS sinkhole, was the natural first choice. It blocks advertisements and tracking domains at the DNS level before requests ever leave the network, and provides a live query log offering full visibility into what every device is communicating with.
From a security perspective, DNS visibility is a foundational monitoring capability. Malware callbacks, telemetry beacons, and command-and-control (C2) channels frequently rely on DNS. Capturing every outbound query creates a simple but effective detection layer.
How DNS Filtering Works
Every time a device connects to a website or service, it first sends a DNS query to resolve the domain name into an IP address. Pi-hole intercepts this process by acting as the network’s DNS server.
When a query matches a known advertising or tracking domain on Pi-hole’s blocklist, it returns a null response, the connection is never established. All other queries resolve normally through an upstream provider (Cloudflare 1.1.1.1 in this deployment).
Key advantages:
- Network-wide coverage: every device benefits automatically, including smart TVs, phones, and IoT devices where browser extensions cannot be installed
- Centralized query logging: a single dashboard shows all DNS activity across the network
- Zero client configuration: devices receive Pi-hole’s address via DHCP automatically
Why LXC Over a Full VM
Proxmox supports two workload types: full virtual machines and LXC containers. Pi-hole is a lightweight service that does not require a fully isolated OS or dedicated hardware emulation.
| Factor | LXC Container | Full VM |
|---|---|---|
| Boot time | Seconds | Minutes |
| RAM overhead | Minimal (~512 MB) | Significant (~2+ GB) |
| Kernel | Shared with host | Independent |
| Isolation | Process-level | Full hardware-level |
| Best for | Lightweight services | Untrusted or complex workloads |
For a trusted service like Pi-hole, the LXC tradeoff is ideal: near-instant startup, minimal resource consumption, and easy lifecycle management through Proxmox snapshots and backups.
Deployment
Creating the LXC Container
A new container was provisioned through the Proxmox web UI using an Ubuntu Server LXC template.
| Setting | Value |
|---|---|
| Base Image | Ubuntu Server (LXC template) |
| Networking | Bridged mode (LAN-visible) |
| CPU | 1 core |
| RAM | 512 MB |
Bridged networking is required so the container is directly reachable on the LAN, devices need to query it as their DNS server.
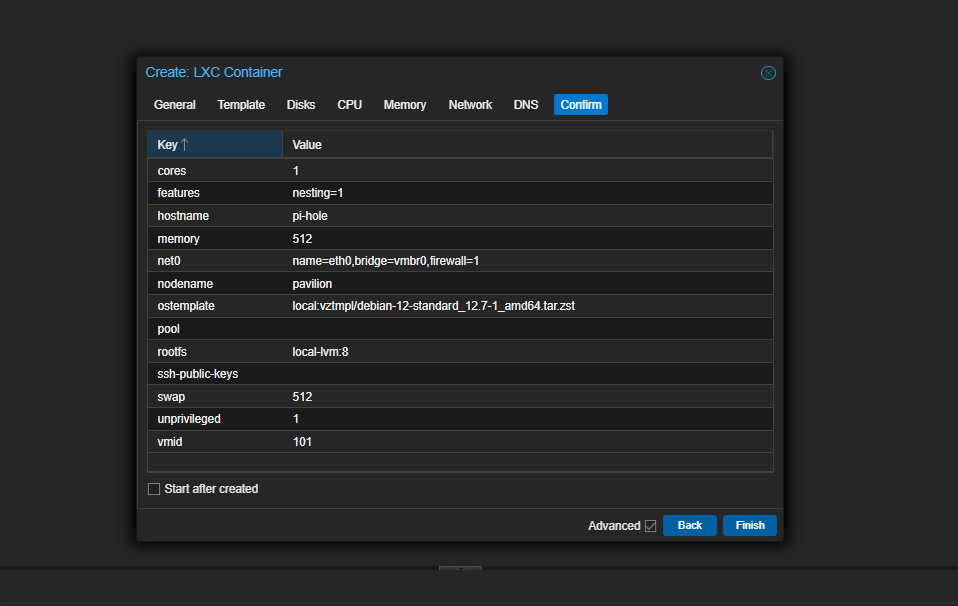 LXC container configuration in Proxmox
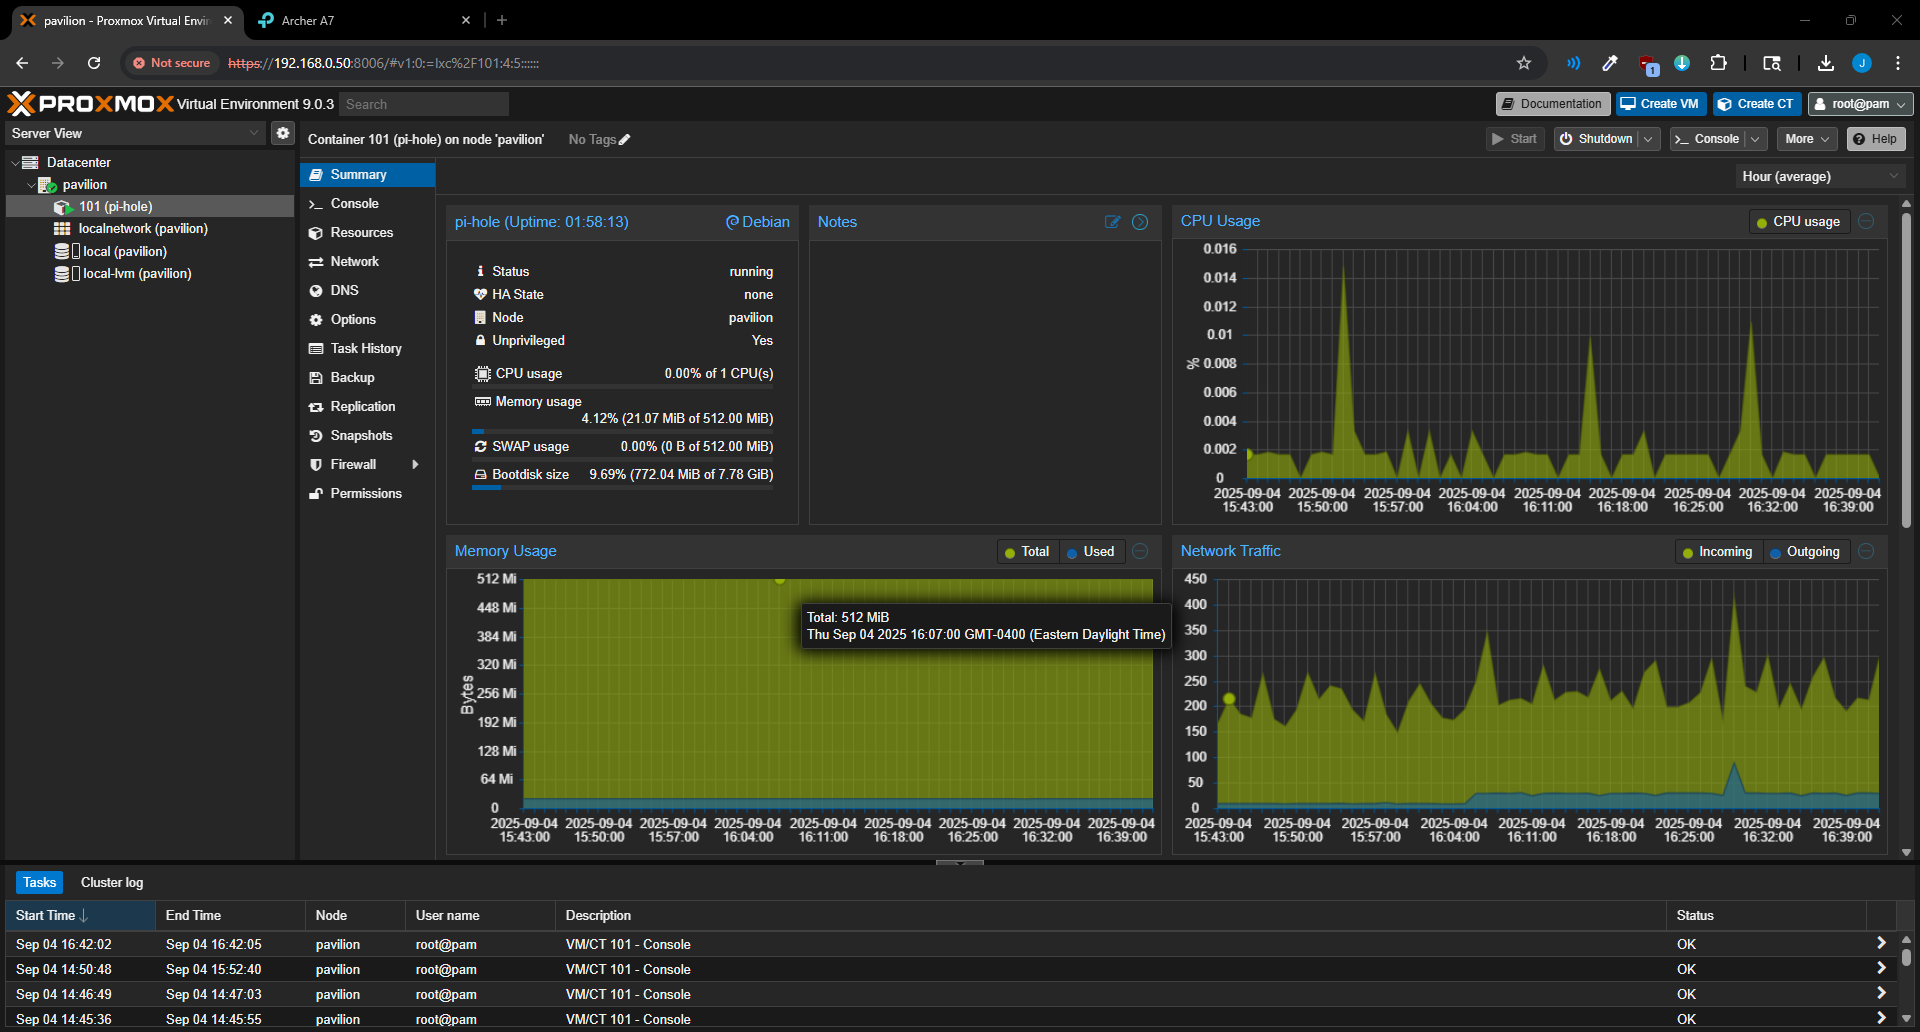 Container created and ready for Pi-hole installation
Installing Pi-hole
With the container running, Pi-hole was installed via its official script:
1
curl -sSL https://install.pi-hole.net | bash
The installer handles all dependencies, service configuration, and the web dashboard. During setup, Cloudflare (1.1.1.1) was selected as the upstream DNS provider.
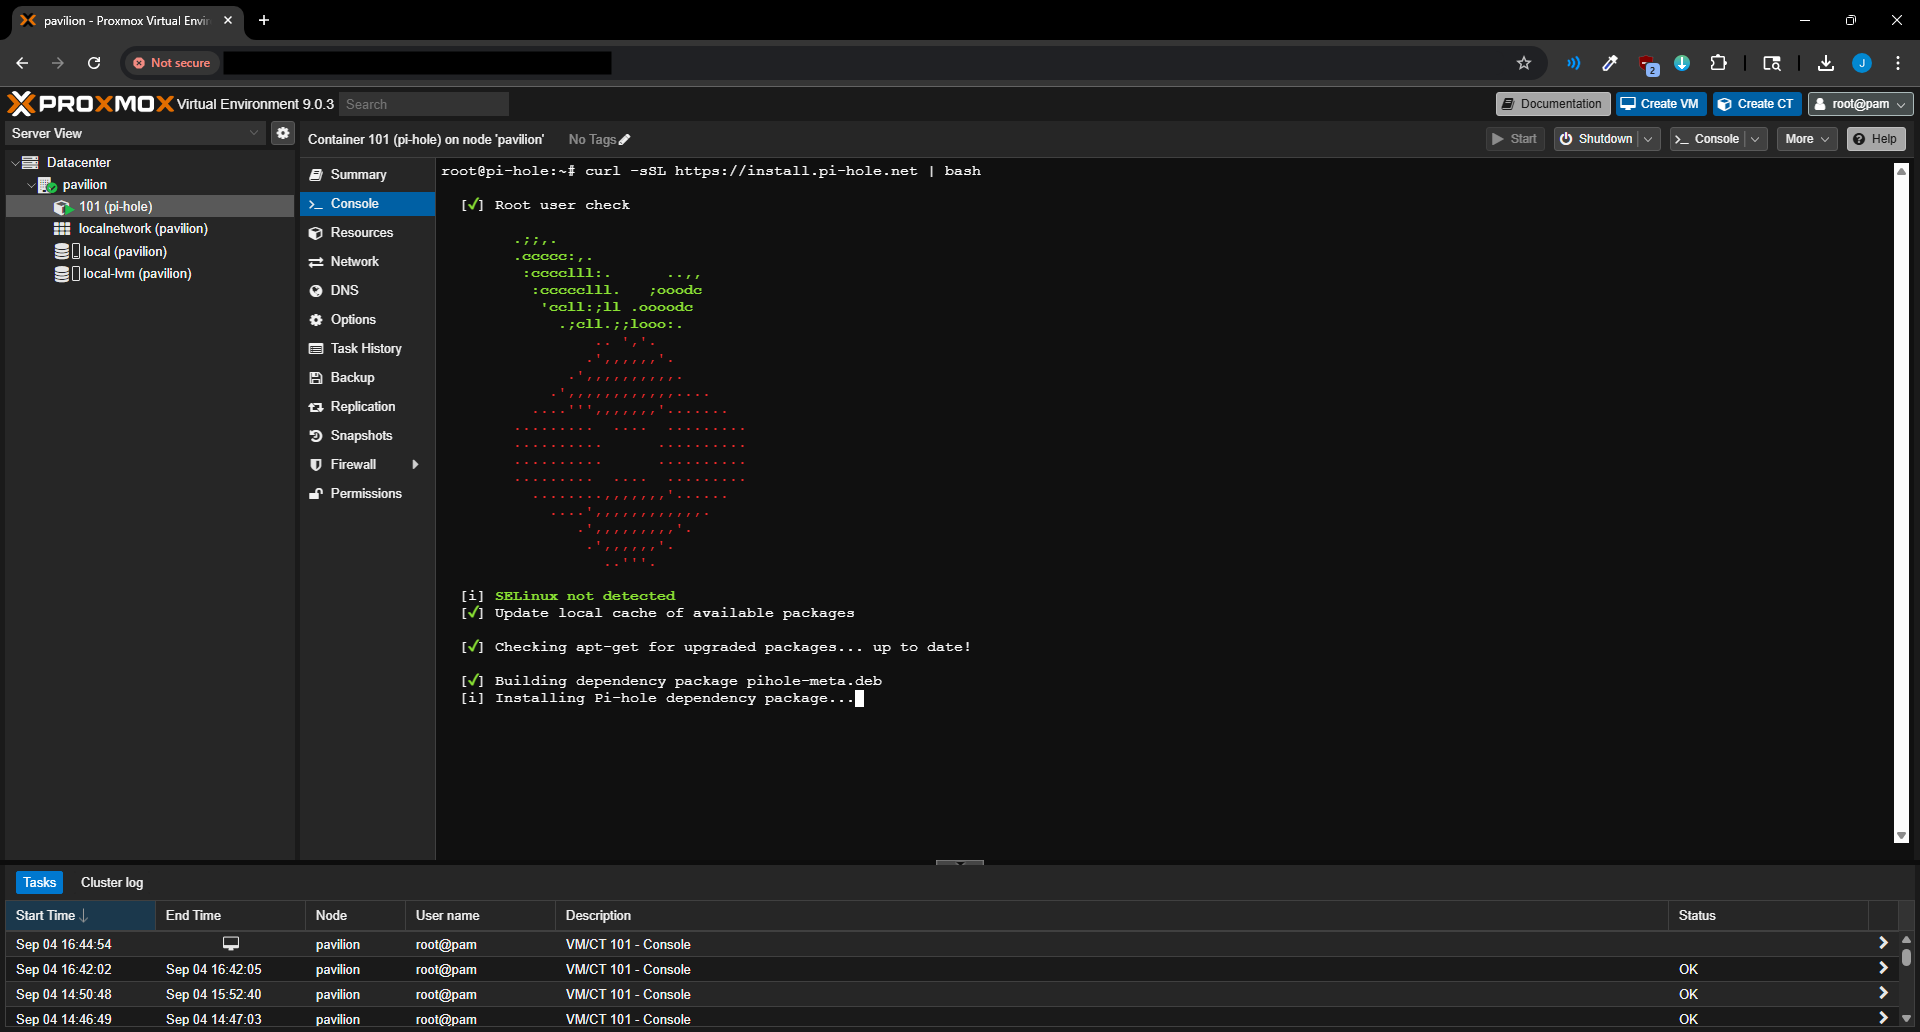 Pi-hole installing via the container console
The admin interface becomes accessible at http://<pihole-ip>/admin upon completion.
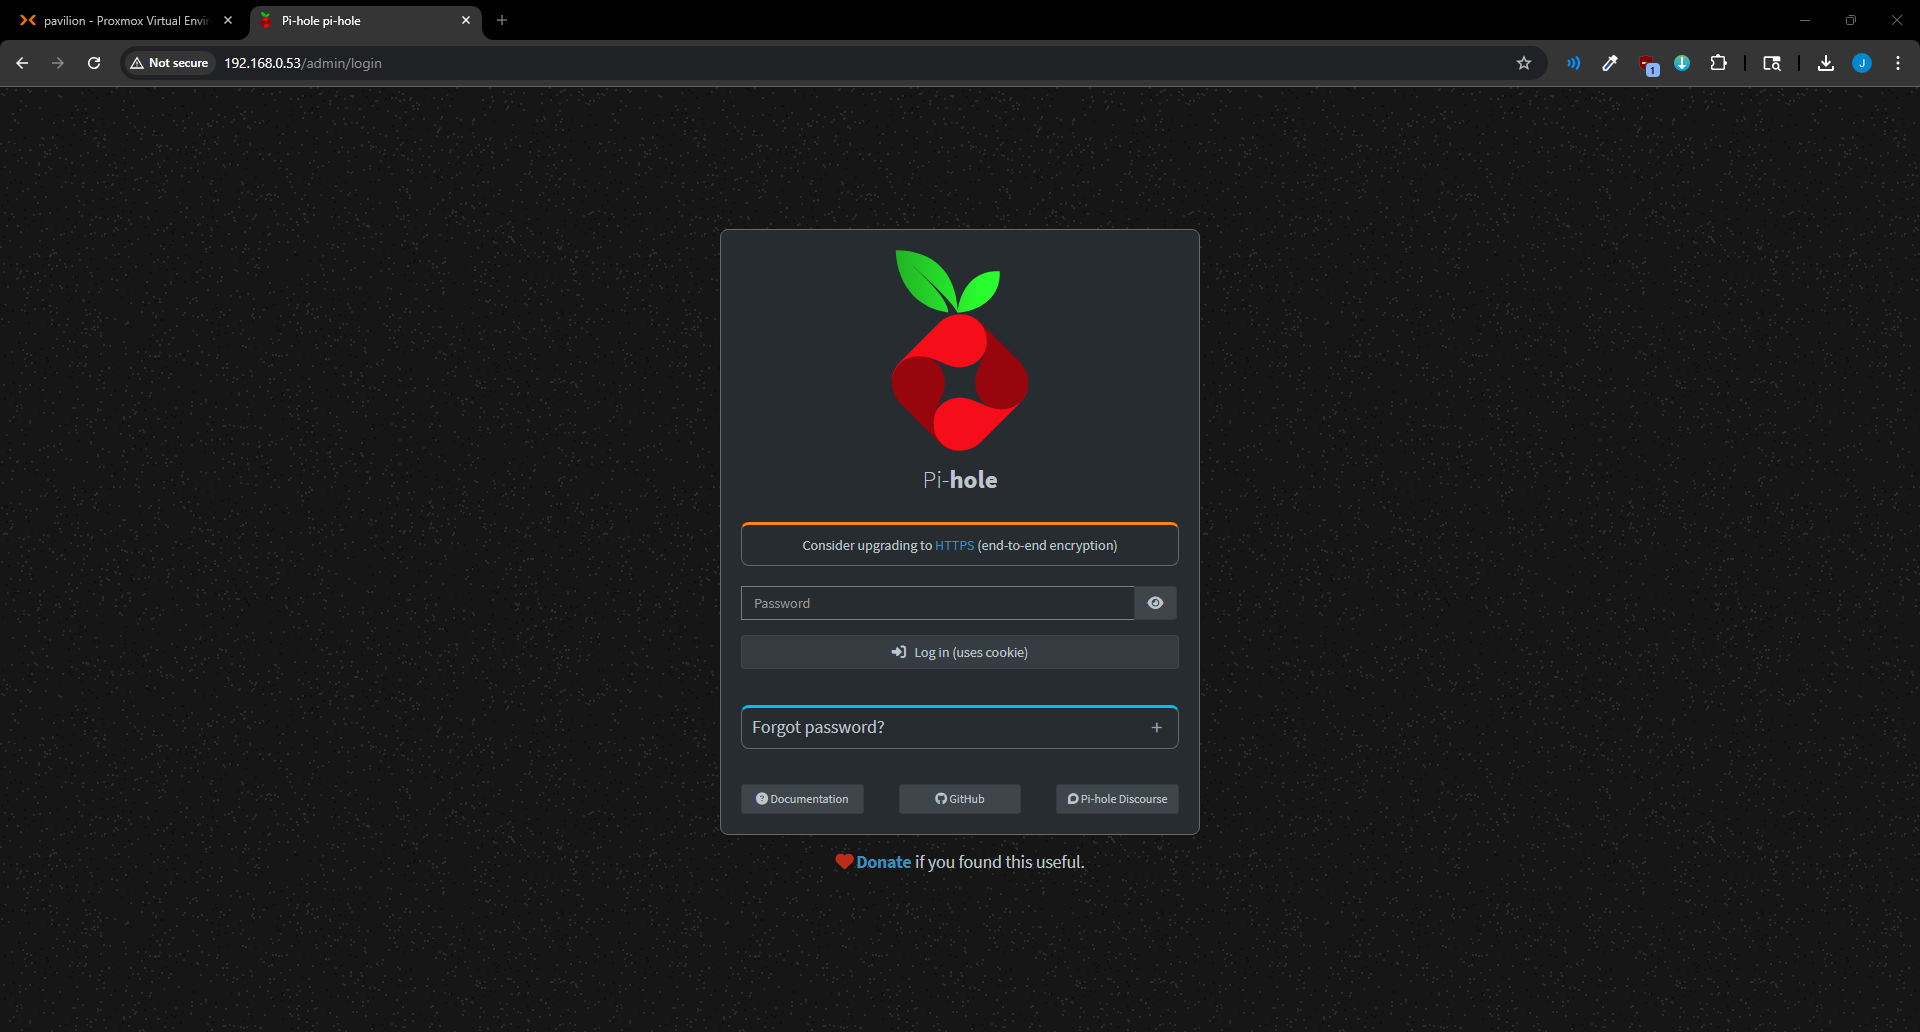 Pi-hole admin panel login screen
Directing Network Traffic to Pi-hole
Pi-hole does nothing until devices actually use it as their DNS server. Rather than configuring each device individually, the router’s DHCP settings were updated to advertise Pi-hole’s IP as the network DNS server. Every device receives this automatically on its next lease renewal.
Before updating the router, the dashboard showed zero queries:
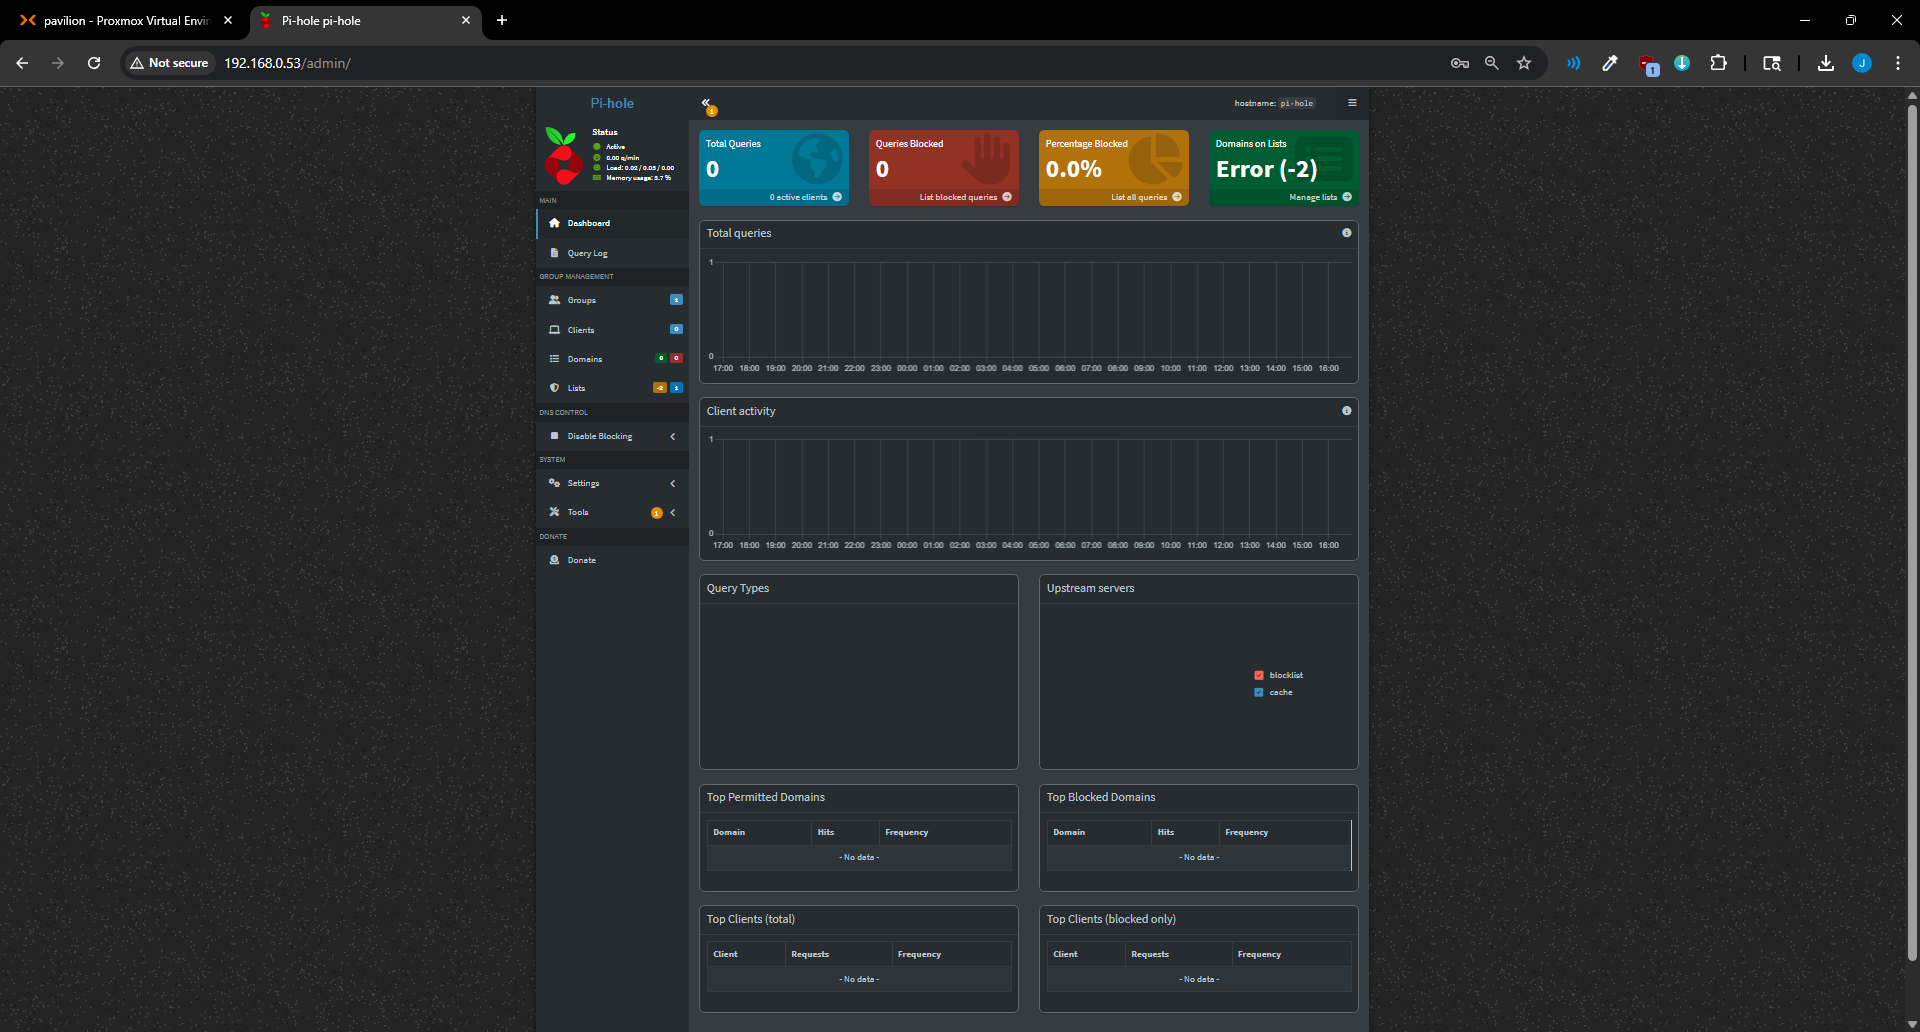 Empty dashboard — router not yet pointing to Pi-hole
After updating the router DNS setting, traffic began flowing immediately:
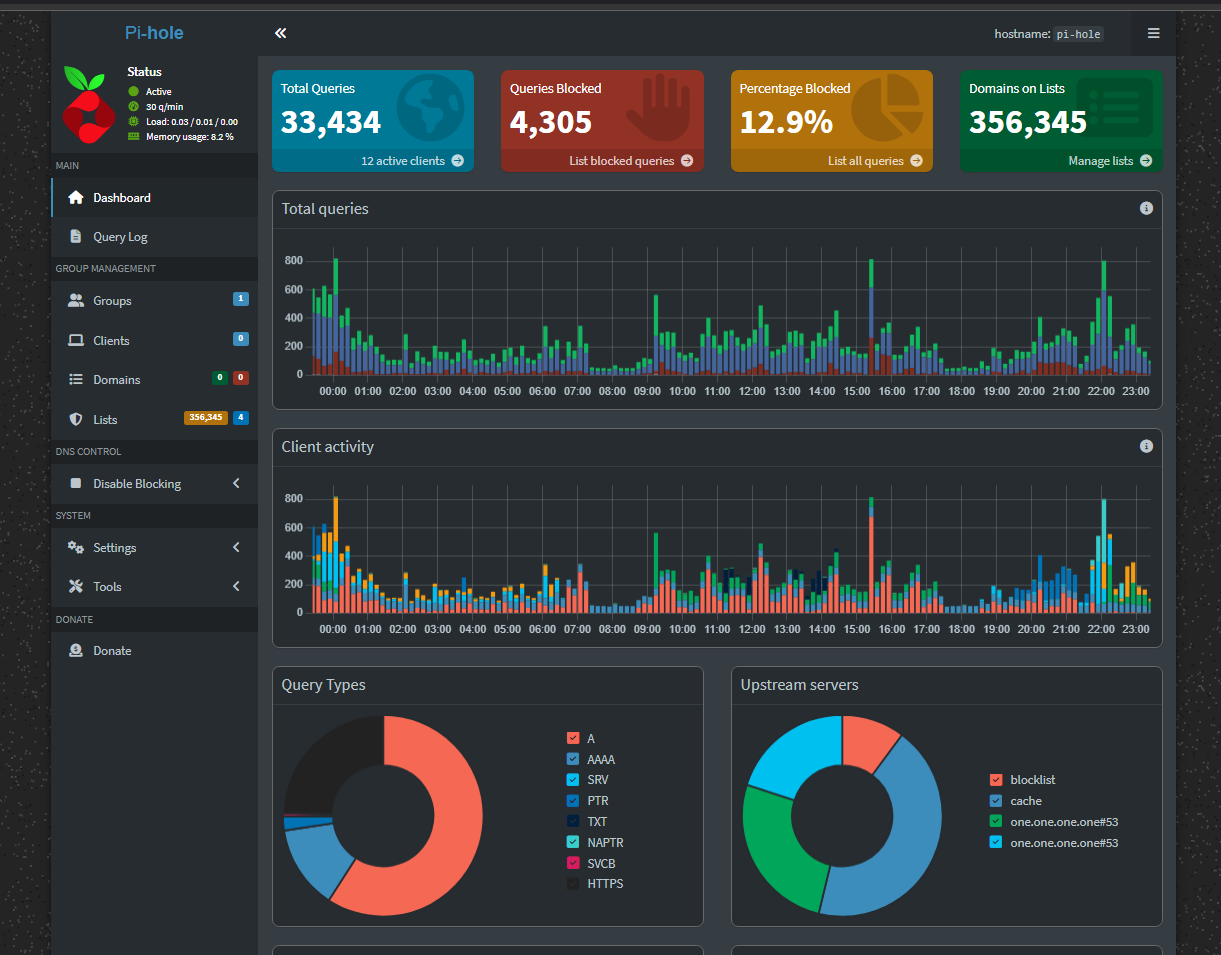 Pi-hole active — query log populated, blocklist filtering in effect
Results and Observations
The live query log revealed the volume of background DNS traffic that devices generate constantly, most of which goes entirely unnoticed without a tool like this in place. Smart TVs, phones, and IoT devices produced continuous streams of telemetry and advertising requests, all now blocked silently at the network level.
What’s Next
The Pavilion is now running two production workloads: Proxmox as the hypervisor and Pi-hole handling DNS for the entire network. The infrastructure layer of V1 is complete.
Next up: building the security lab, a Kali Linux attacker VM and a vulnerable target machine running inside Proxmox for hands-on offensive security practice.