Building the Security Lab: Kali + DVWA
Preparing an attacker-target lab with Kali Linux and DVWA, then performing network reconnaissance to map the lab.
Overview
With Proxmox running and Pi-hole handling DNS, the infrastructure was stable. The next step was building what the homelab was actually designed for: a safe environment to practice offensive security techniques.
This post covers deploying the attacker and target machines, and executing initial network reconnaissance against the lab.
Lab Architecture
The security lab consists of two virtual machines on the same internal Proxmox network:
| Role | Machine | Purpose |
|---|---|---|
| Attacker | Kali Linux | Purpose-built offensive security distribution with pre-installed tooling |
| Target | Ubuntu Server + DVWA | Deliberately vulnerable web application with adjustable difficulty levels |
Deploying the Attacker: Kali Linux
Kali Linux was deployed using its pre-built VM image, following the standard Proxmox workflow: download ISO, upload to local storage, configure the VM, and boot.
| Setting | Value |
|---|---|
| OS | Kali Linux 2025.2 |
| CPU | 2 vCPUs |
| RAM | 2 GB |
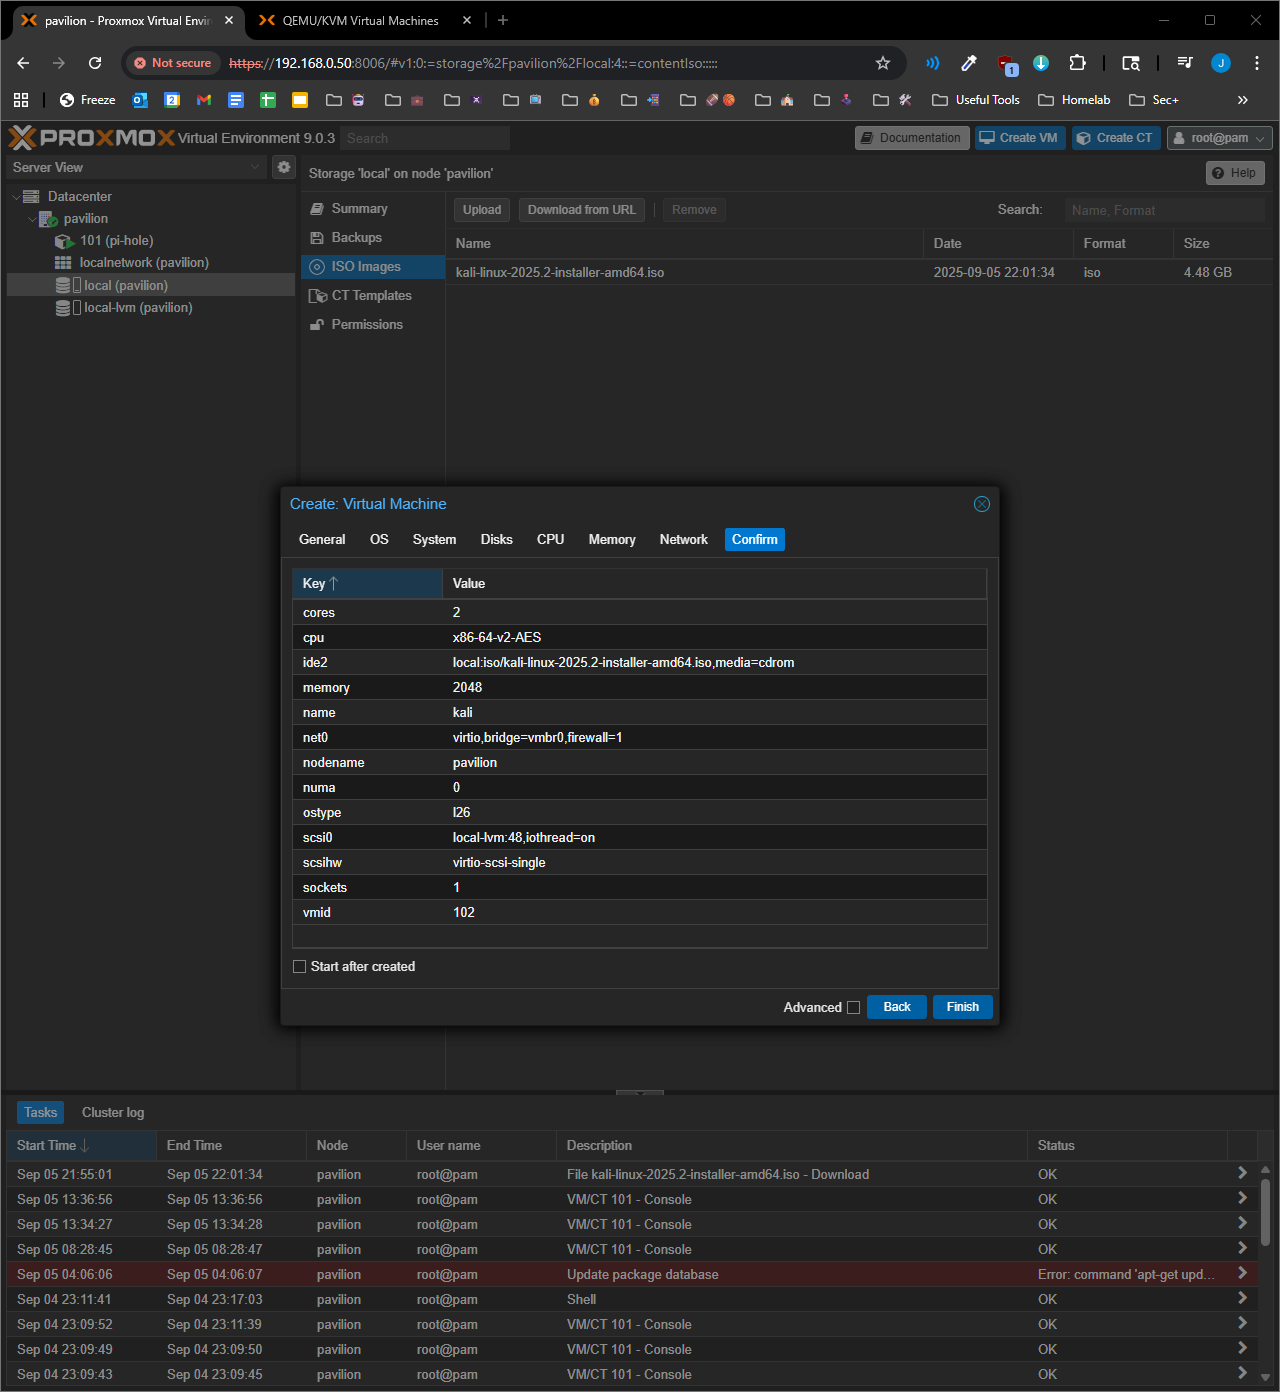 Kali VM configuration in Proxmox
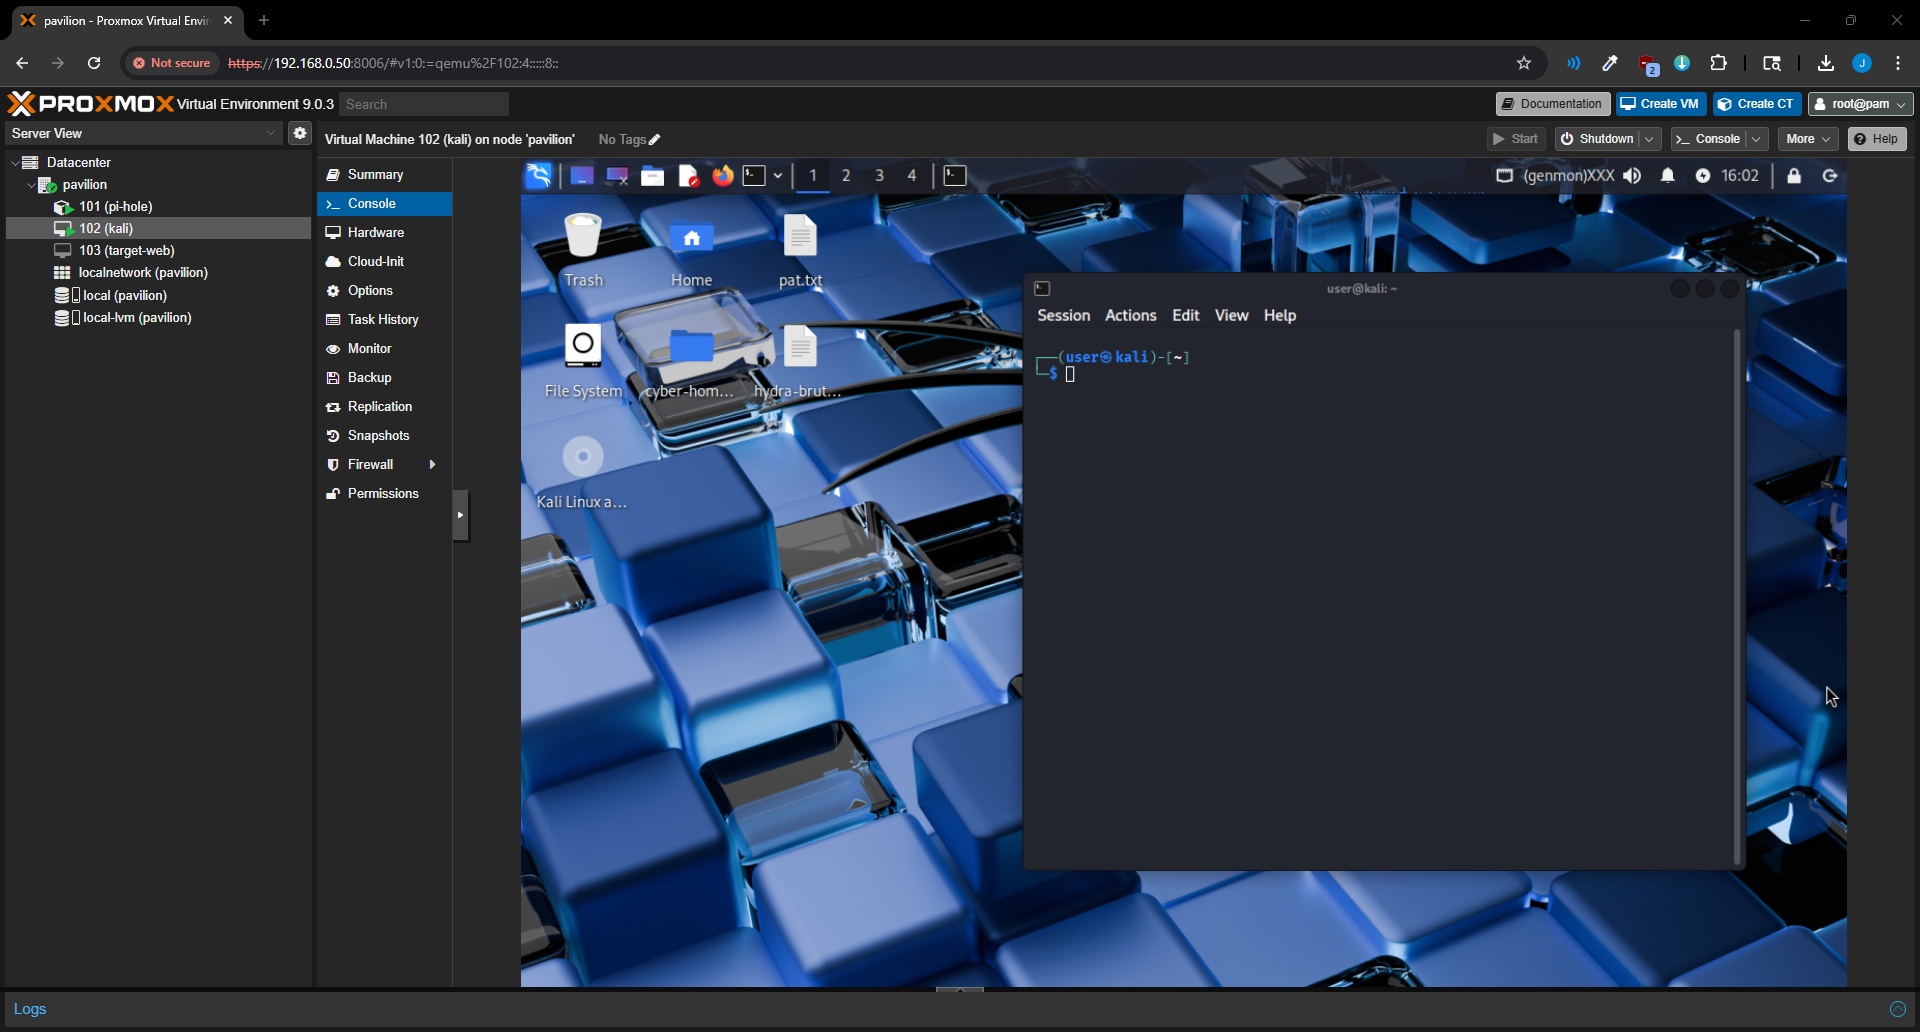 Kali Linux desktop running inside Proxmox
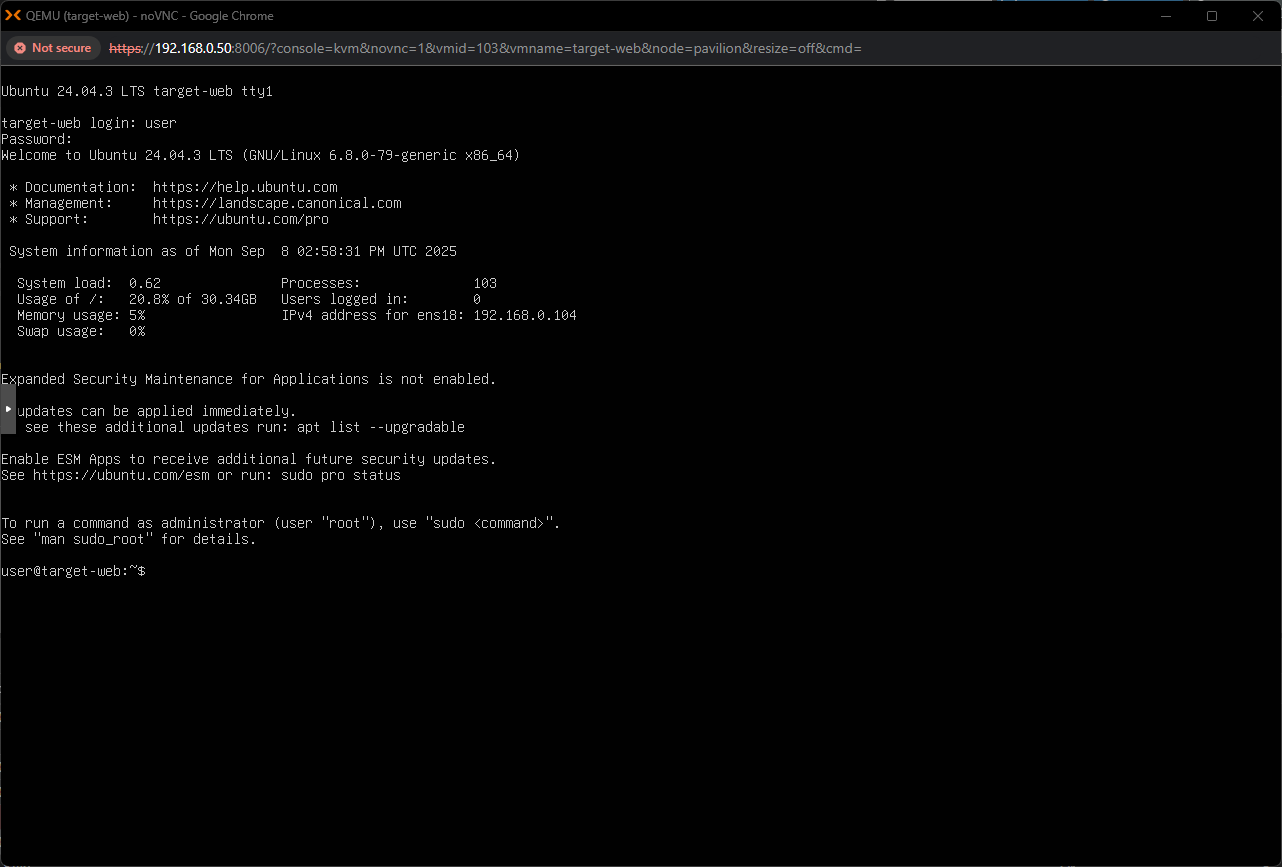
Deploying the Target: Ubuntu Server + DVWA
The target machine runs DVWA (Damn Vulnerable Web Application), a purpose-built insecure web application designed for security testing practice. It provides adjustable security levels (Low, Medium, High, Impossible) that progressively introduce real-world defenses.
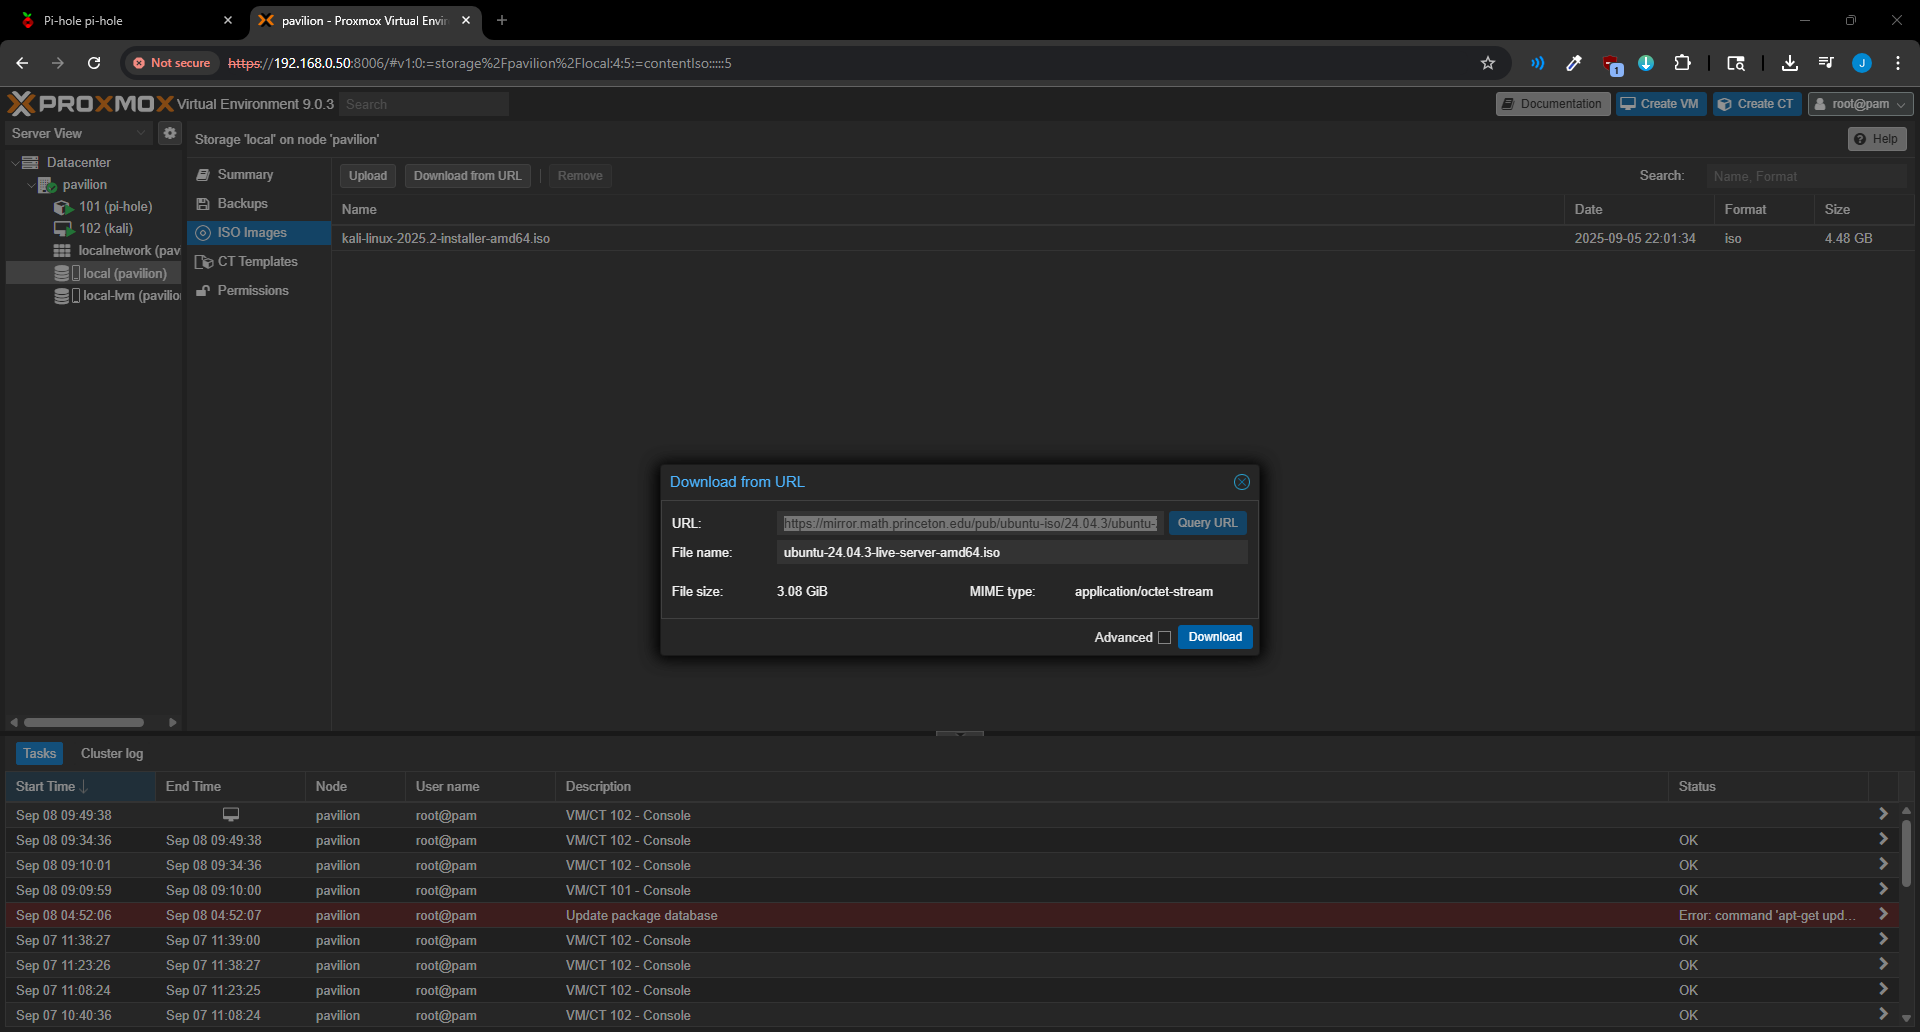 Downloading the Ubuntu Server ISO
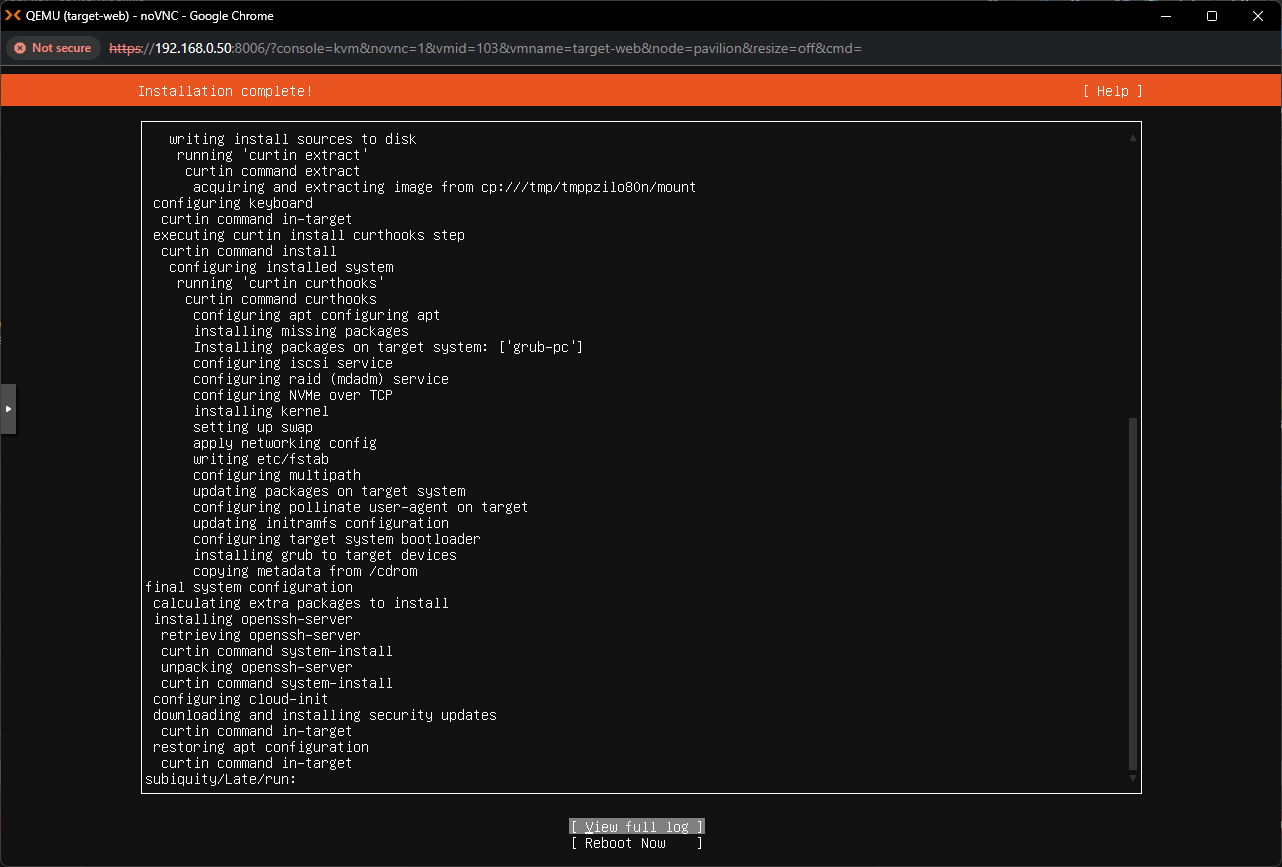 Ubuntu Server installation in progress
 Ubuntu Server VM operational
With the OS installed, DVWA was deployed and its database initialized:
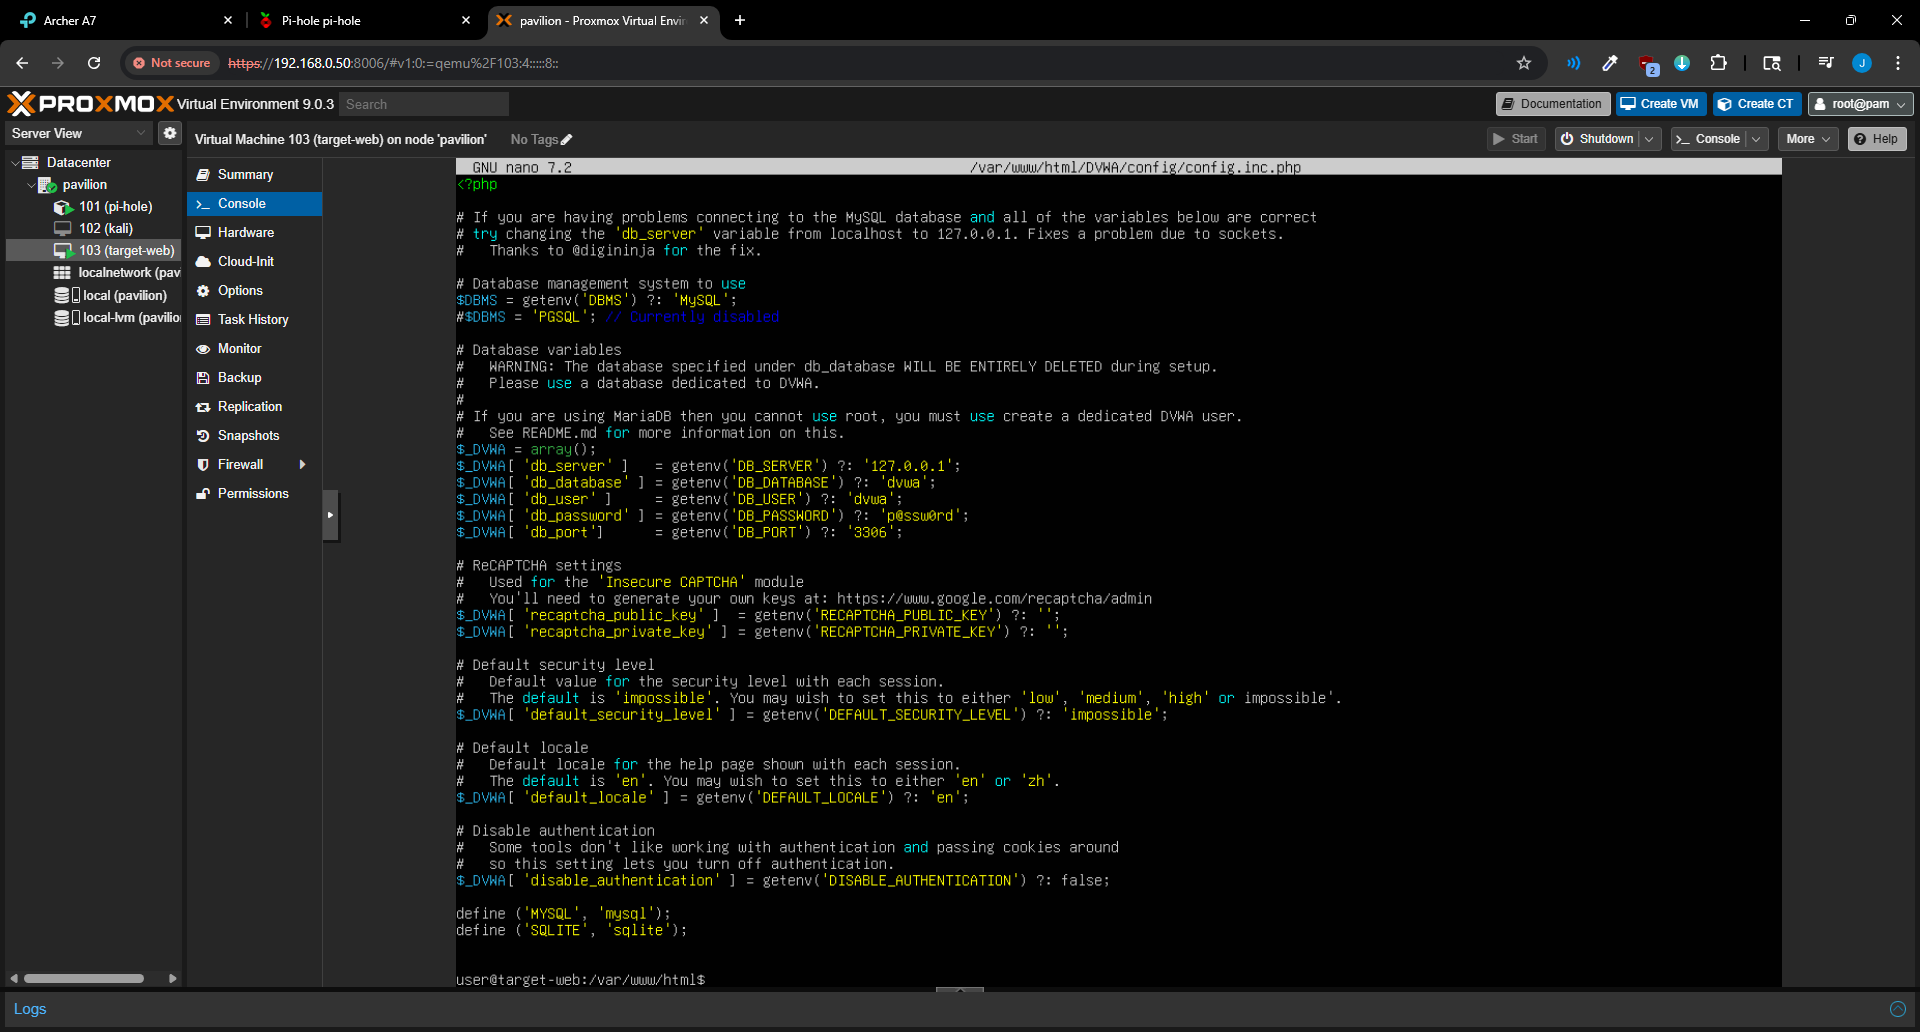 DVWA database initialization
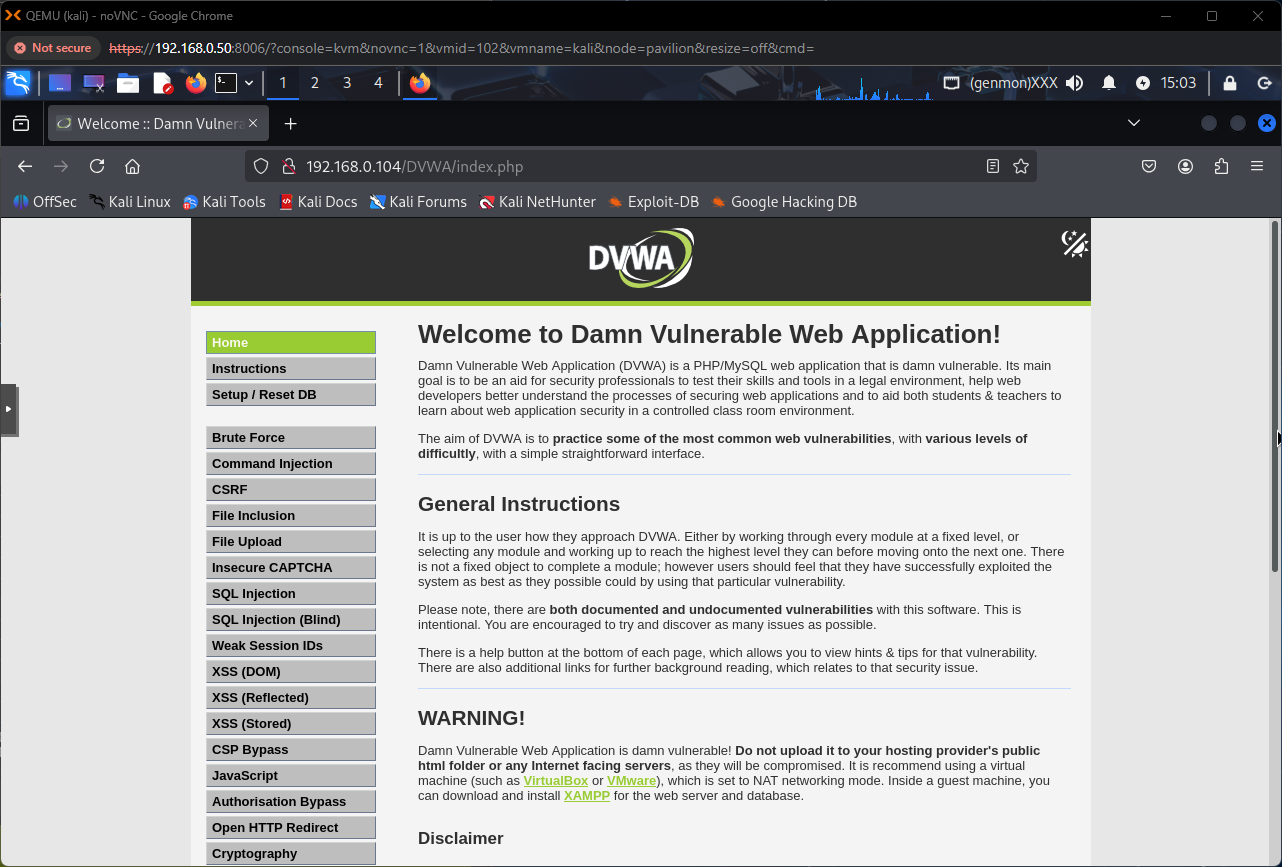 DVWA login page accessible from the Kali VM — lab is operational
Reconnaissance
Before engaging any DVWA modules, standard reconnaissance was performed from the Kali VM to map the environment and confirm reachability. This mirrors real-world methodology: understand the environment before testing it.
Connectivity Verification
A basic ping confirmed Kali could communicate with other hosts on the network:
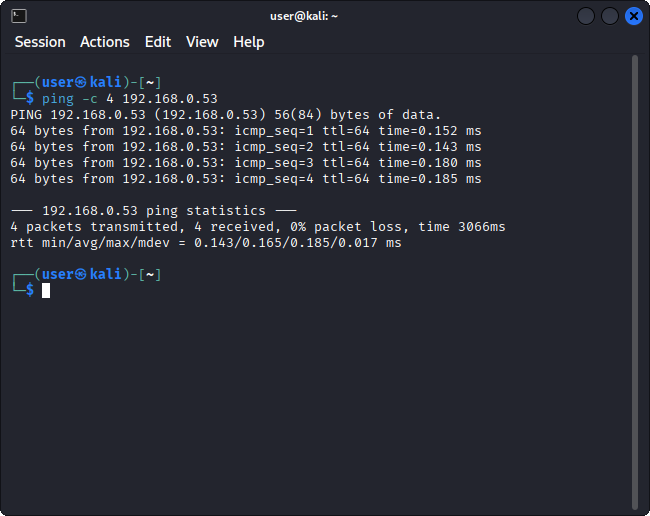 Ping confirming LAN reachability from Kali to Pi-hole
Nmap Scanning
A series of progressively detailed Nmap scans were executed against the gateway and Pi-hole container:
Host Discovery: identifying live hosts on the network:
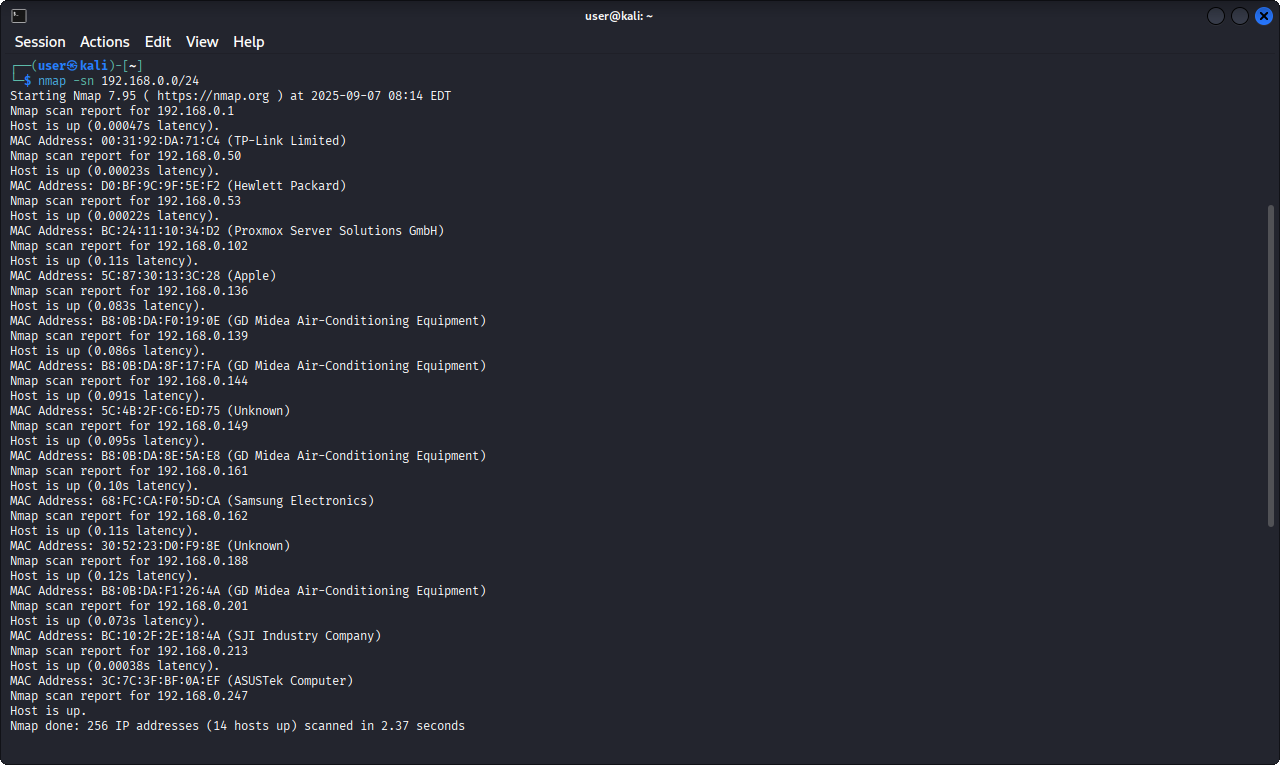 Nmap host discovery scan results
Service Enumeration: identifying open ports and running services:
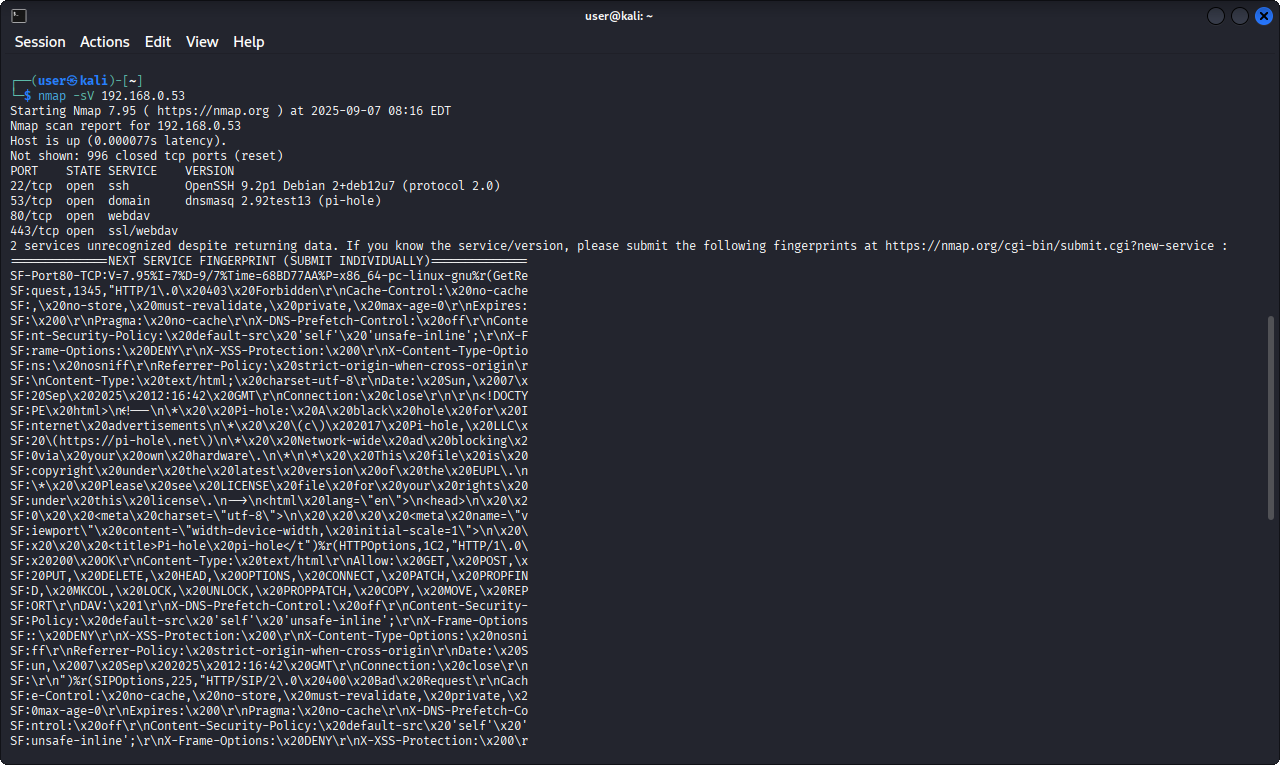 Nmap service enumeration output
Aggressive Scan: OS detection, version fingerprinting, and default scripts:
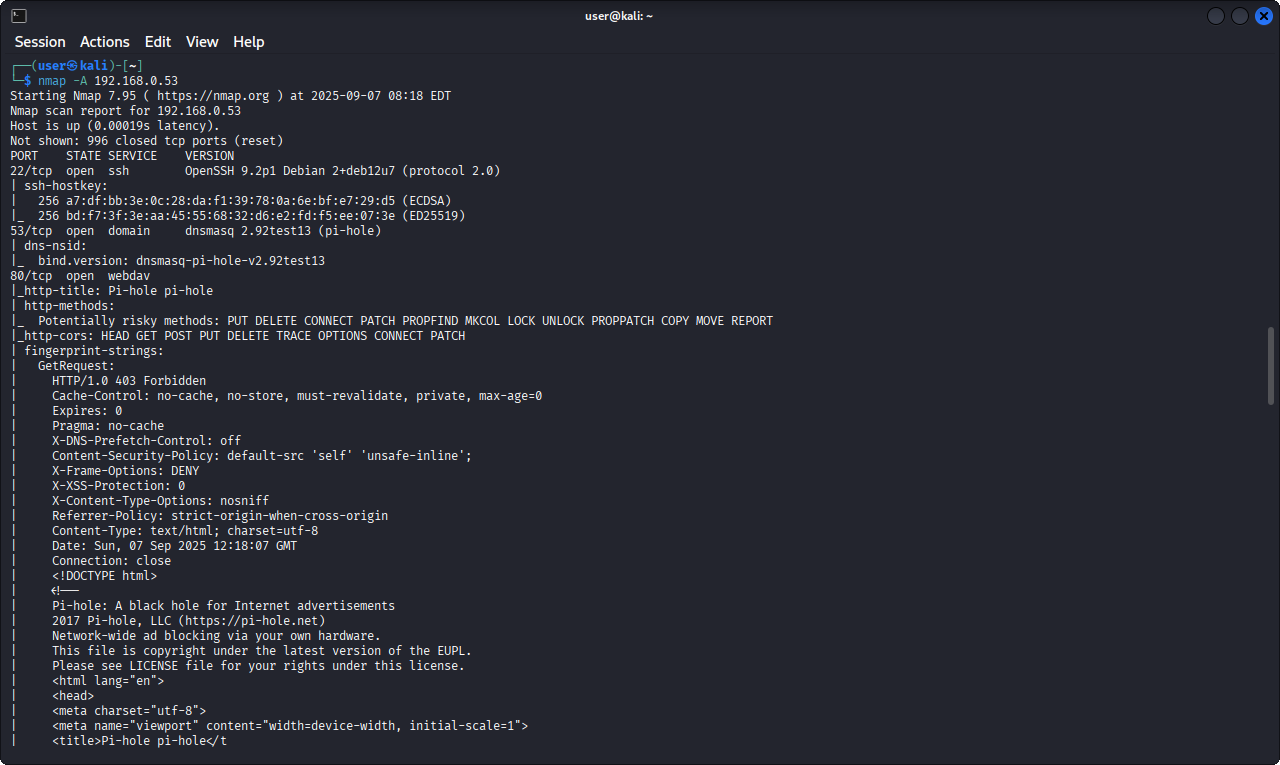 Nmap aggressive scan with OS detection and script results
All scan results, including a Nikto web vulnerability scan, were saved to log files for documentation. Running scans against machines I deployed built yourself was helpful for learning: I knew exactly what should be there, so interpreting the results was intuitive.
What’s Next
The lab is operational and the network is mapped. The next post covers working through DVWA’s brute force module, using Burp Suite and Hydra to crack authentication at two different security levels, and analyzing what each defensive mechanism actually prevents (and what it doesn’t).